Monthly Archives: July 2013

SAMSUNG

A Thai take on a Mojito

So last weekend, the CGP and I were treated to dinner by friends to a Burmese restaurant in Falls Church, Myanmar. Burmese cuisine is clearly influenced by both its Thai and Indian neighbors, yet still different. Lots of curries, in the sense of a long braise, but the flavor profiles are unique to their cuisine. This is a hole-in-the-wall family-run establishment with modest prices — plan for laid-back service and food to arrive as it’s ready, not necessarily in an American-style soup-salad-main. You MUST order the mango salad. We adore the Ohn-no Kaukswe (Chicken Noodle Soup With Coconut) and have been known to go there JUST for this soup if one of us has a cold! For entrees, I can personally recommend the Spicy Curry Beef, Mutton Curry (goat), Shrimp Pumpkin, and Coconut Seafood Curry. As usual at this joint, we ate until we were uncomfortably full. The food is THAT good.

Once we were back at home in our loose-fitting jammies (seeing a theme here? I like to sit around my house in my jammies), I wanted to whip up a cocktail that would complement that meal. I grabbed some Thai basil from the front garden (garden of weeds mostly) and some pantry staples and assembled a couple of these, my Thai take on a mojito.

Thai “Mojito”SAMSUNG
Serves 1

1 teaspoon sugar
1 tablespoon lime juice
4 – 5 Thai basil leaves
2 ounces (1/4 cup) vodka
About 6 ounces (1/2 can) ginger ale
Ice

Muddle the sugar, lime juice, and basil leaves in the bottom of a large glass. Add the vodka and stir to ensure the sugar is dissolved. Fill the glass with ice then top off with ginger ale. Stir gently to combine. Garnish with a basil spring or a lime wheel.

Cheers!

SAMSUNG

SAMSUNG

Easy Thai at Home (Garlic Basil Chicken)

We adore Thai food. We adore Thai restaurants. But sometimes, you just want to enjoy those flavors at home in your jammies (and I’ve found few Thai restaurants that deliver). A couple of years ago, my husband gave me some cooking lessons at a local Thai restaurant as a Christmas present (present for him you are probably thinking). Initially, I was intimidated because Thai cooking tastes complicated. What I found surprising was that a couple of my favorite dishes really were easy to make at home if (1) You did all your prep work before ever turning on the stove and (2) You knew the right condiments! Don’t laugh, but I asked staff to bring out the condiment bottles from the kitchen so that I could photograph the exact brand and product for my subsequent shopping adventure at the international market (H-Mart or Great Wall).

Are these truly authentic? Probably not — I’ve adjusted them for my family’s American palate. For example, I’ve cut back a bit on the fish sauce and soy sauce because I found it a bit too salty. I also increased the oyster sauce because we like a little more sauce than is traditional. I make a version without the chile peppers if I have kids at the table. But that’s what I learned in the cooking class — these condiments are to be used “to taste” — and the goal of Thai cooking is the balance of sweet-to-salty-to-sour-to-bitter.

SAMSUNG SAMSUNG

Garlic Basil Chicken
Serves 3 to 4

Typically when I make this, I make about 1/3 as a kid-approved version and 2/3 as a spicy adult version, which you will see in the pictures. So I will try to explain that as I go.

3 – 4 garlic cloves, minced
3 – 5 Thai chile peppers, minced fine
3 boneless, skinless chicken breasts, sliced thin
2 – 3 tablespoons canola oil
3 teaspoons granulated sugar, divided
2 1/2 teaspoons seasoning soy sauce, divided
2 1/2 teaspoons fish sauce, divided
3 tablespoons oyster sauce, divided
1 medium-sized white or yellow onion, sliced thin (root to stem)
A bunch of Thai basil leaves

Your garlic, chiles, chicken, and onion should be prepared before you ever turn on the stove. Have your condiments setting to the side with lids off.

Heat both a small saute pan (I use an 8″ omelet pan) and a medium saute pan (I use a 10″ fry pan) over medium to medium-high heat. Swirl about a tablespoon of canola oil in the small pan and a tablespoon or two of canola oil in the large pan.

Turn on your exhaust fan (trust me). Add 1/3 of the garlic to the small pan. Add the remaining garlic and the chiles to the large pan. Adjust the heat if needed — you are going to cook these just until fragrant. Add 1/3 of the chicken to the small pan and 2/3 of the chicken to the large pan — stir them around to coat the chicken in the garlic and the oil. Cook the chicken, stirring occasionally, until it’s about 3/4 done (a little pink is okay).

SAMSUNG SAMSUNG

Sprinkle 1 to 1 1/2 teaspoons of sugar, 1/2 teaspoon seasoning soy sauce, 1/2 teaspoon fish sauce, and 1 tablespoon oyster sauce over the chicken in the small pan and stir.

Sprinkle 1 – 2 teaspoons of sugar, 2 teaspoons seasoning soy sauce, 2 teaspoons fish sauce, and 2 tablespoons oyster sauce over the chicken in the large pan and stir.

Put a few slices of onion in the small pan (the kids will pick it out probably) and the remainder of the onion in the large pan.

SAMSUNG SAMSUNG

Turn the heat down a bit and cook a few minutes until the onion softens but is still tender-crisp. Sometimes I will put a lid on the pan to reduce evaporation while the onion cooks a bit.

Toss in the basil leaves and stir until they wilt a bit. Serve over jasmine rice.

SAMSUNG SAMSUNG

SAMSUNG

Peachy Summertime Sangria

Local peaches are hitting the markets and it’s hotter than heck out there (another DC heat wave in the works I think). Too hot to cook … can only think of cold, wet, semi-sweet drinks (make sure to check out my Mango LimeAde) … cobbler will have to wait!

Peachy Summertime Sangria

SAMSUNG1/4 cup sugar
1/3 cup boiling water
1 cinnamon stick
1 star anise
3 cloves
2 ripe yet firm peaches, peel left on
1/4 cup brandy
1/4 cup ginger liqueur
1 750 ml bottle dry white wine, chilled
12 ounces ginger ale, chilled

Dissolve the sugar in the boiling water (I used my trusty 2 cup Pyrex measuring cup). Add the cinnamon stick, star anise, and cloves and let set on the counter to infuse. Meanwhile, thinly slice the peaches and put them in a large pitcher. Pour the brandy and ginger liqueur over the peaches. Pour the cooled spiced sugar syrup over the peaches. Refrigerate, ideally for several hours. Add the chilled wine and continue to refrigerate. Just before serving, add the ginger ale and stir. Serve over ice. Garnish with a peach slice.

SAMSUNG


I used an un-oaked chardonnay. This particular one is fairly dry with hints of tropical fruit. A dry Riesling would work nicely as well.

SAMSUNG

It’s just too hot for that oven

Who doesn’t love a long, slow, oven-braised short-rib in the winter, served over hot buttered egg noodles? In July? Not so much. But I found bone-in short ribs on sale at the grocer, and since I really do love that rich beefy flavor and melty tenderness (AND I found myself with a Sunday afternoon and nothing to do but stay cool), I thought I’d tackle short ribs on the grill.

I’d seen the BBQ U guy on PBS do various Asian-inspired glazes, and since I have a number of Asian-sourced condiments, I was pretty confident I could throw something together. I knew short-ribs took about 2 1/2 hours in my oven after first being seared off in a pan, so if I did some direct heat followed by indirect heat, maybe that would approximate the sear/braise. After a consult with my husband, I decided to put them in a disposable pan with a touch of water to keep them moist and avoid the more complicated plate-setter indirect setup. These really couldn’t have been easier. On a larger grill like mine, I think I could double the recipe (using two pans) and cook for a crowd.

Grilled Short Ribs with an Asian Flair
(serves 3 – 4)

SAMSUNG2 1/2 to 3 pounds bone-in beef short ribs

Glaze # 1
1/4 cup rice vinegar
2 teaspoons reduced sodium soy sauce
1 tablespoon brown sugar
1 star anise
1/8 teaspoon garlic powder
1/8 teaspoon ground coriander
1/8 teaspoon cinnamon-based “baking spice” [* see note at end of page]

Glaze #2
1/4 cup oyster sauce
1/2 – 1 tablespoon rice vinegar

SAMSUNG

Set up your grill for direct and indirect grilling. Because I was using our XL BGE (brick house), I was able to pile the coals towards the front of the grill for my “direct” grilling, leaving the rear of the grill without coals for my “indirect” grilling. Heat grill to 375F to 400F, pretty hot.


Combine all the ingredients for Glaze #1 in a small bowl. Put the short ribs, bone-side down, in a single layer in a disposable aluminum pan. Add about 1/4″ water to the pan. Brush about half of Glaze #1 onto the ribs (save the rest for later!). Put the ribs in their pan on the direct side of the grill for about an hour. At the one hour mark, check your ribs. They should be pulling back from the bone, fat will be rendering off, and they will be starting to carmelize. BUT, they will be tough as can be. Brush on the remainder of Glaze #1 and slide your pan to the indirect side of the grills.  [Food safety note: Please use a fresh brush for each glaze session]

To make Glaze #2, combine the oyster sauce and enough rice vinegar to make it spreadable but not runny.

About 1 hour after moving the ribs to the indirect, check them. The smaller ones will be getting tender but the larger ones are probably not quite ready. Brush about half of Glaze #2 onto the ribs (save the rest for later!).

SAMSUNG


Check again about 1/2 hour later — the ribs should be crusty on the outside but fork tender if poked (they may need a touch more time if they are all big).


SAMSUNG


Pull the ribs from the grill and brush with the remainder of Glaze #2. Let rest on the counter for about 10 minutes before digging in.


SAMSUNG


I served these with a microwaveable “Confetti Rice” from Trader Joe’s (it has lemongrass and Thai-inspired flavors) and a gingery white sangria. My husband LOVED the ribs. I was just relieved to have avoided using both oven and stovetop!

This is a kid-approved recipe: Note the lack of black pepper or chili flakes.

*****

[*] This is a cinnamon-based spice mix that includes such things as ginger, nutmeg, mace, cloves, and/or allspice. Sometimes labled “Pumpkin Pie Spice” or “Apple Pie Spice”. Mine contains cinnamon, mace, anise, and a touch of cardamom.

SAMSUNG

More berry bread!

It’s berry season in these parts. We eat a lot out of hand, but when they start to turn, well, it’s either bread or margaritas, right? This version really isn’t that different from my other recent breakfast bread, but I wanted to experiment with greek yogurt instead of buttermilk, since that’s what I had on hand. I think it’s a little tangier (tangy-er?) and is a little denser. Fabulous with coffee.

Berry Breakfast Bread

SAMSUNG2 cups berries
2 1/2 cups flour
2 1/2 teaspoons baking powder
1/2 teaspoon salt
Juice and zest of 1 lemon
1/2 cup butter, melted and cooled slightly
1 cup sugar
2 eggs
1 6-ounce cup plain greek yogurt

Preheat oven to 350F. Prepare an 11 x 7 x 2 inches baking pan by spraying liberally with baking spray.

Rinse your berries and pick over for stems, leaves, and small bugs. I used 1 cup wild raspberries (we scavenged ourselves) and 1/2 cup each blueberries and blackberries from the Westmoreland Berry Farm. Drain well. Cut the blackberries in half.

In a small bowl, whisk together the flour, baking powder, salt, and lemon zest. Set aside.

In a large bowl, mix the butter, sugar, eggs, and lemon juice until well combined. Dump in about half the dry ingredients, mix until mostly incorporated, add the yogurt, mix until mostly incorporated, add the rest of the dry ingredients, and mix until fully incorporated. I started with a wooden spoon and ended with a rubber spatula.

Gently fold in the berries. Pour the batter into the prepared pan.

Bake the loaf at 350F for 15 minutes. Rotate the pan and cook another 15 to 20 minutes until golden brown and a toothpick inserted into the center comes out clean (or with only a few crumbs).

SAMSUNGAllow to cool to warm before cutting — this is a VERY moist bread and if you cut into it too soon, it will be gummy. Store tightly covered at room temperature, not that it’s going to last very long!

SAMSUNG

A mango-licious twist on a summer favorite

Growing up, my mom made and us kids drank ALOT of Kool-Aid. It was cheap (less than 10 cents an envelope I think), it was easy (I was making it myself from about the age of 8 or so), it was kid-approved, and it was the 70s. Cut her some slack, ok?

Today, I don’t buy Kool-Aid. It really doesn’t jazz my adult palate, but I know that kids tend to like sweet, color, and fruitiness in a drink, so I do have some standbys for when I’m entertaining the under-10 set. This is one of them.

SAMSUNG

Mango Lime-Ade

2/3 to 3/4 cup sugar
1/2 cup lime juice
1 9.6 ounce can Goya Mango Nectar
Water


Dissolve the sugar in about one cup of boiling water (I boil the water in the microwave and then pour over the sugar in the bottom of a sturdy glass pitcher). Combine this with the lime juice and mango nectar in a 64-oz pitcher. Stir well to combine, then add water and ice to fill the pitcher.

*****

Hard to beat on a summer day! I know I’ve been posting a lot of beverage recipes lately, but it is HOT here in this urban jungle …

SAMSUNG

Fourth of July Feast

My mother-in-law and her SO were in town for the Fourth. We wanted to grill something fabulous that would feed a crowd — we knew there were at least 7 of us but frequently extra people get invited or show up as the smoke wafts through the neighborhood. We’d done 5 racks of ribs and a bunch of tofu the weekend before (NO pictures of that, hence no blog post; I’m lucky I still have plates and utensils that gang was ravenous!!), so we wanted something else. Brisket is one of our go-tos for a crowd, so we thought Mom would enjoy that. Plus, there’s a certain set-it-and-forget quality to our technique.

I should probably take a moment to wax rhapsodic about our Big Green Egg. A Big Green Egg (BGE) is a outdoor cooker. I hesitate to say grill, because it’s also a smoker. We use it to smoke ribs, brisket, or pork shoulder at 225F/250F (low and slow) for hours and hours … or grill a standing rib roast, butterflied pork loin, or whole turkey at 325F/350F for a couple of hours, or pop in some oysters at 450F, or sear off some steaks at 600F+. It’s amazingly versatile and practically idiot-proof. I should be embarrassed, because any time I’m at the garden center picking up charcoal or an EGGcessory, I’m always trying to sell one to the hapless soul who happens to be browsing while I’m there. Just for the record, I whole-heartedly recommend the LARGE.

SAMSUNG SAMSUNG

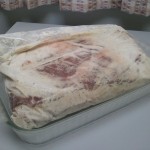
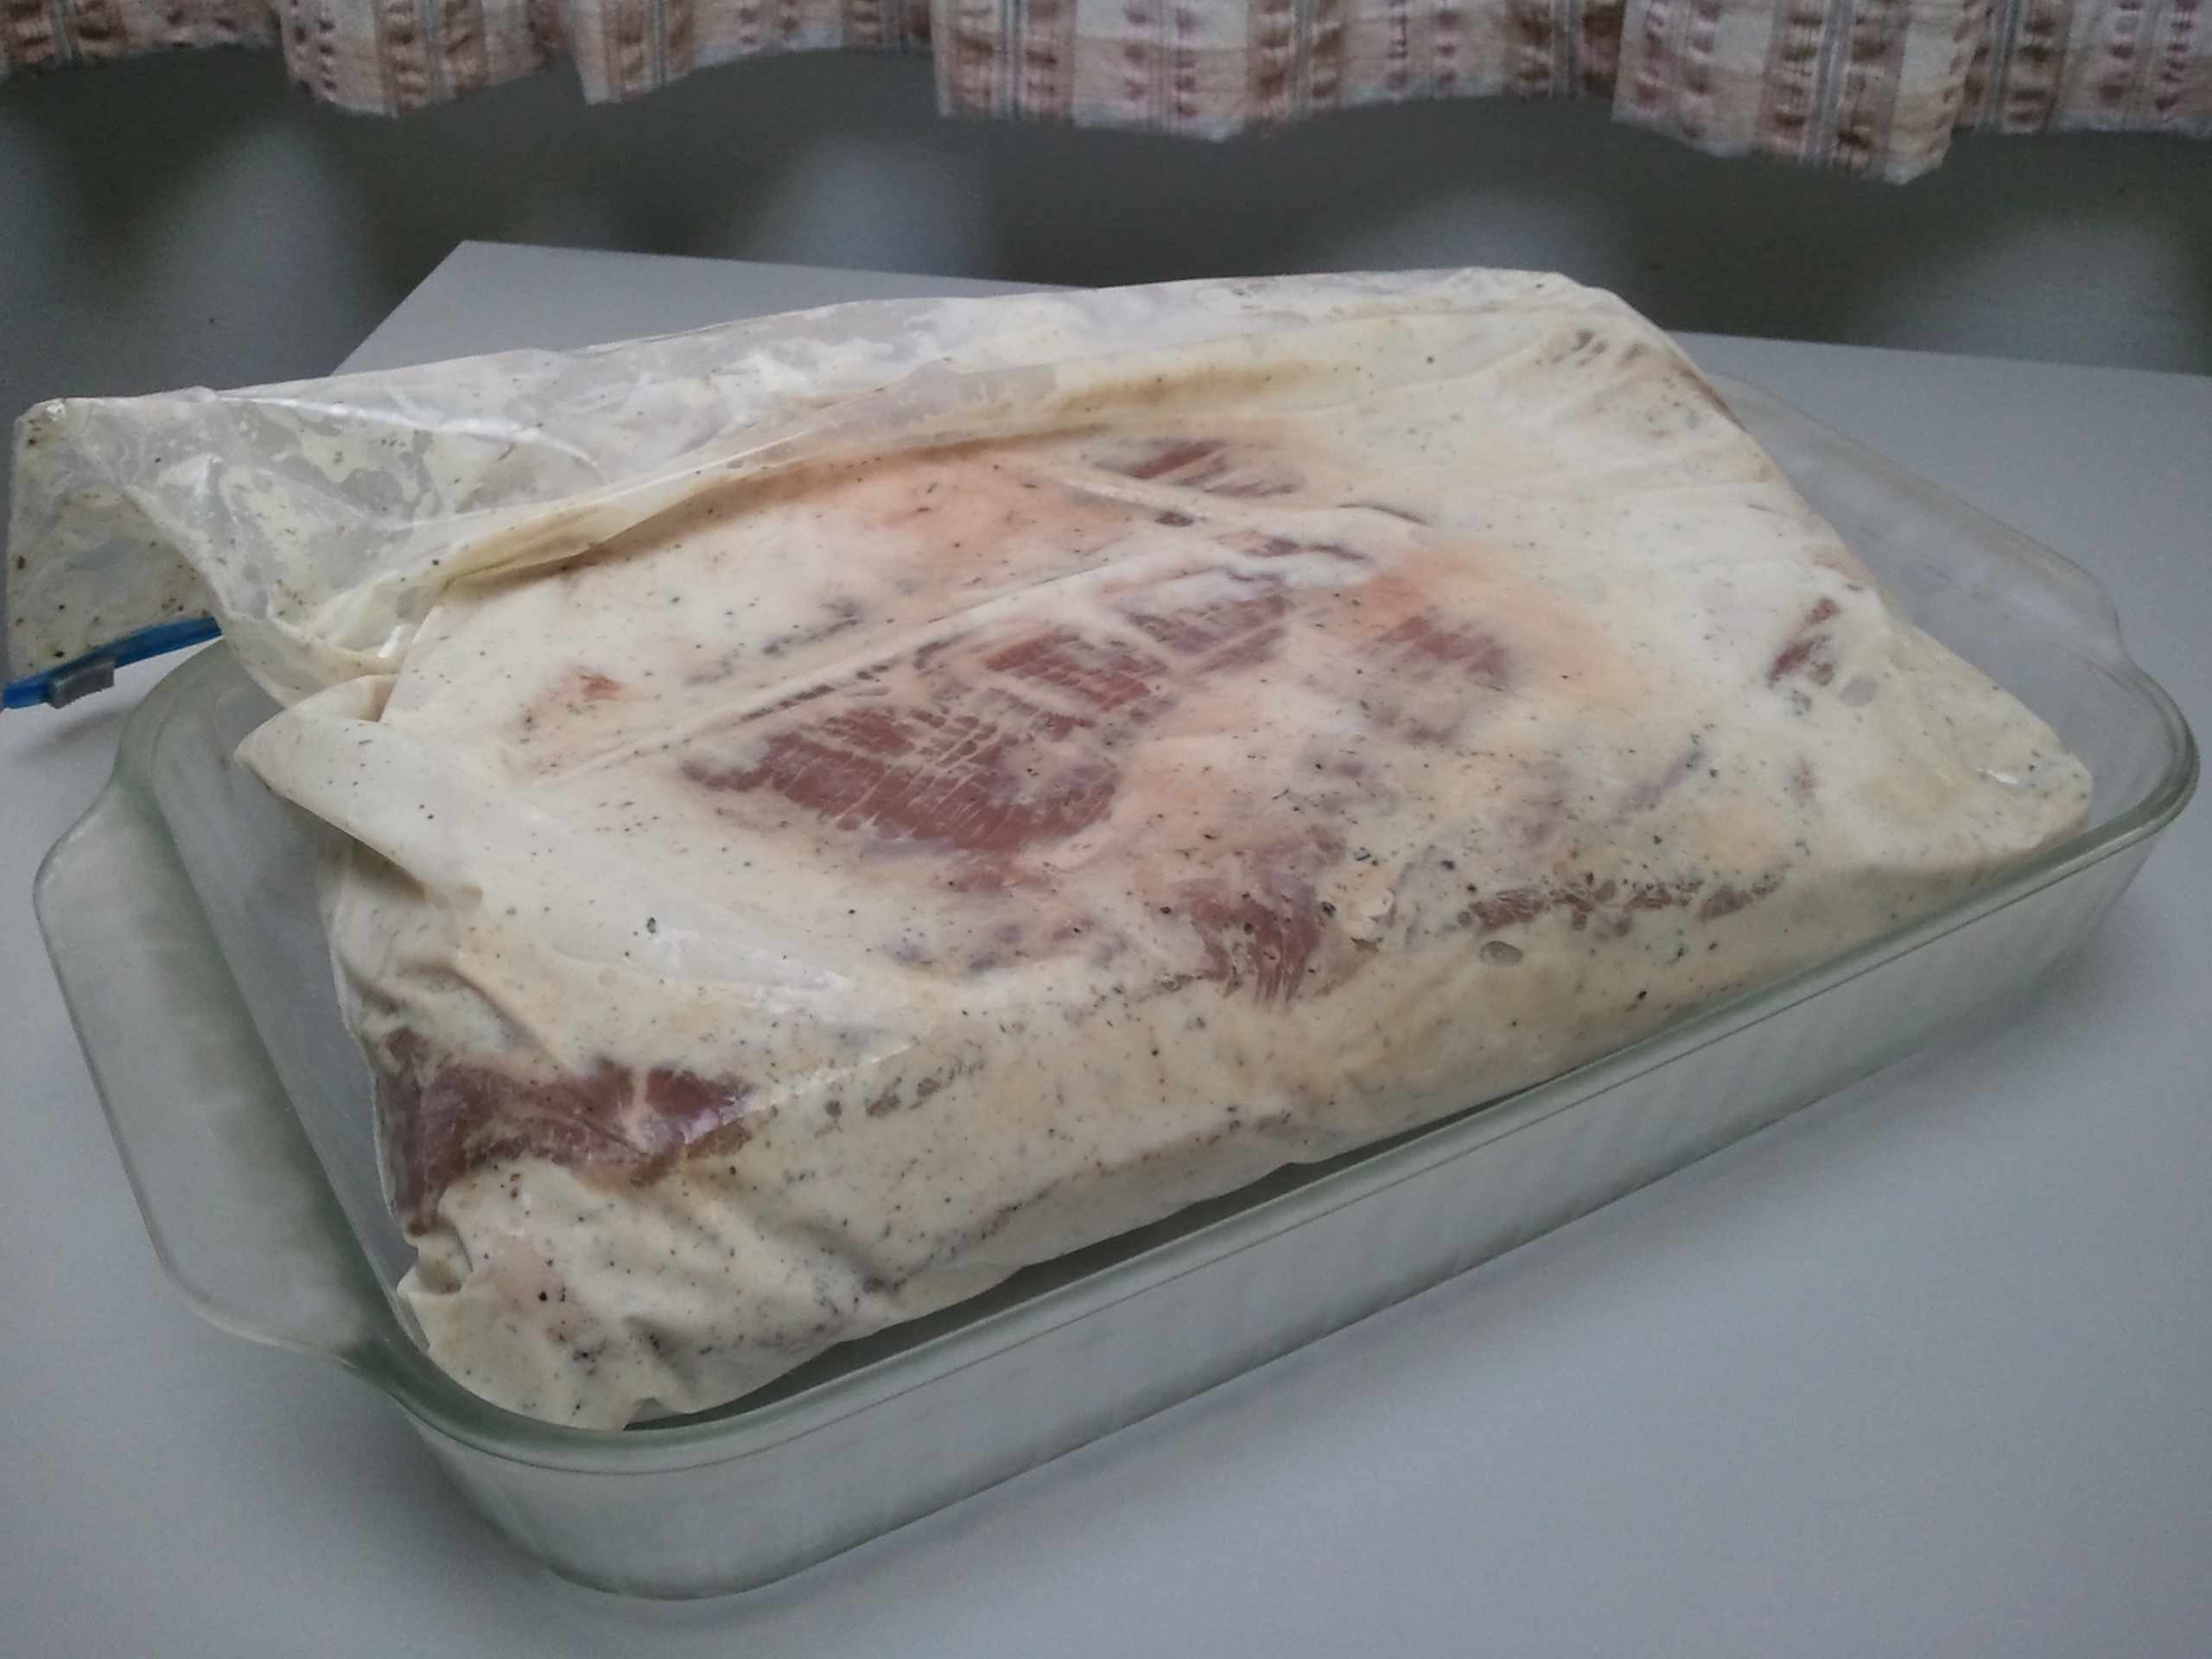
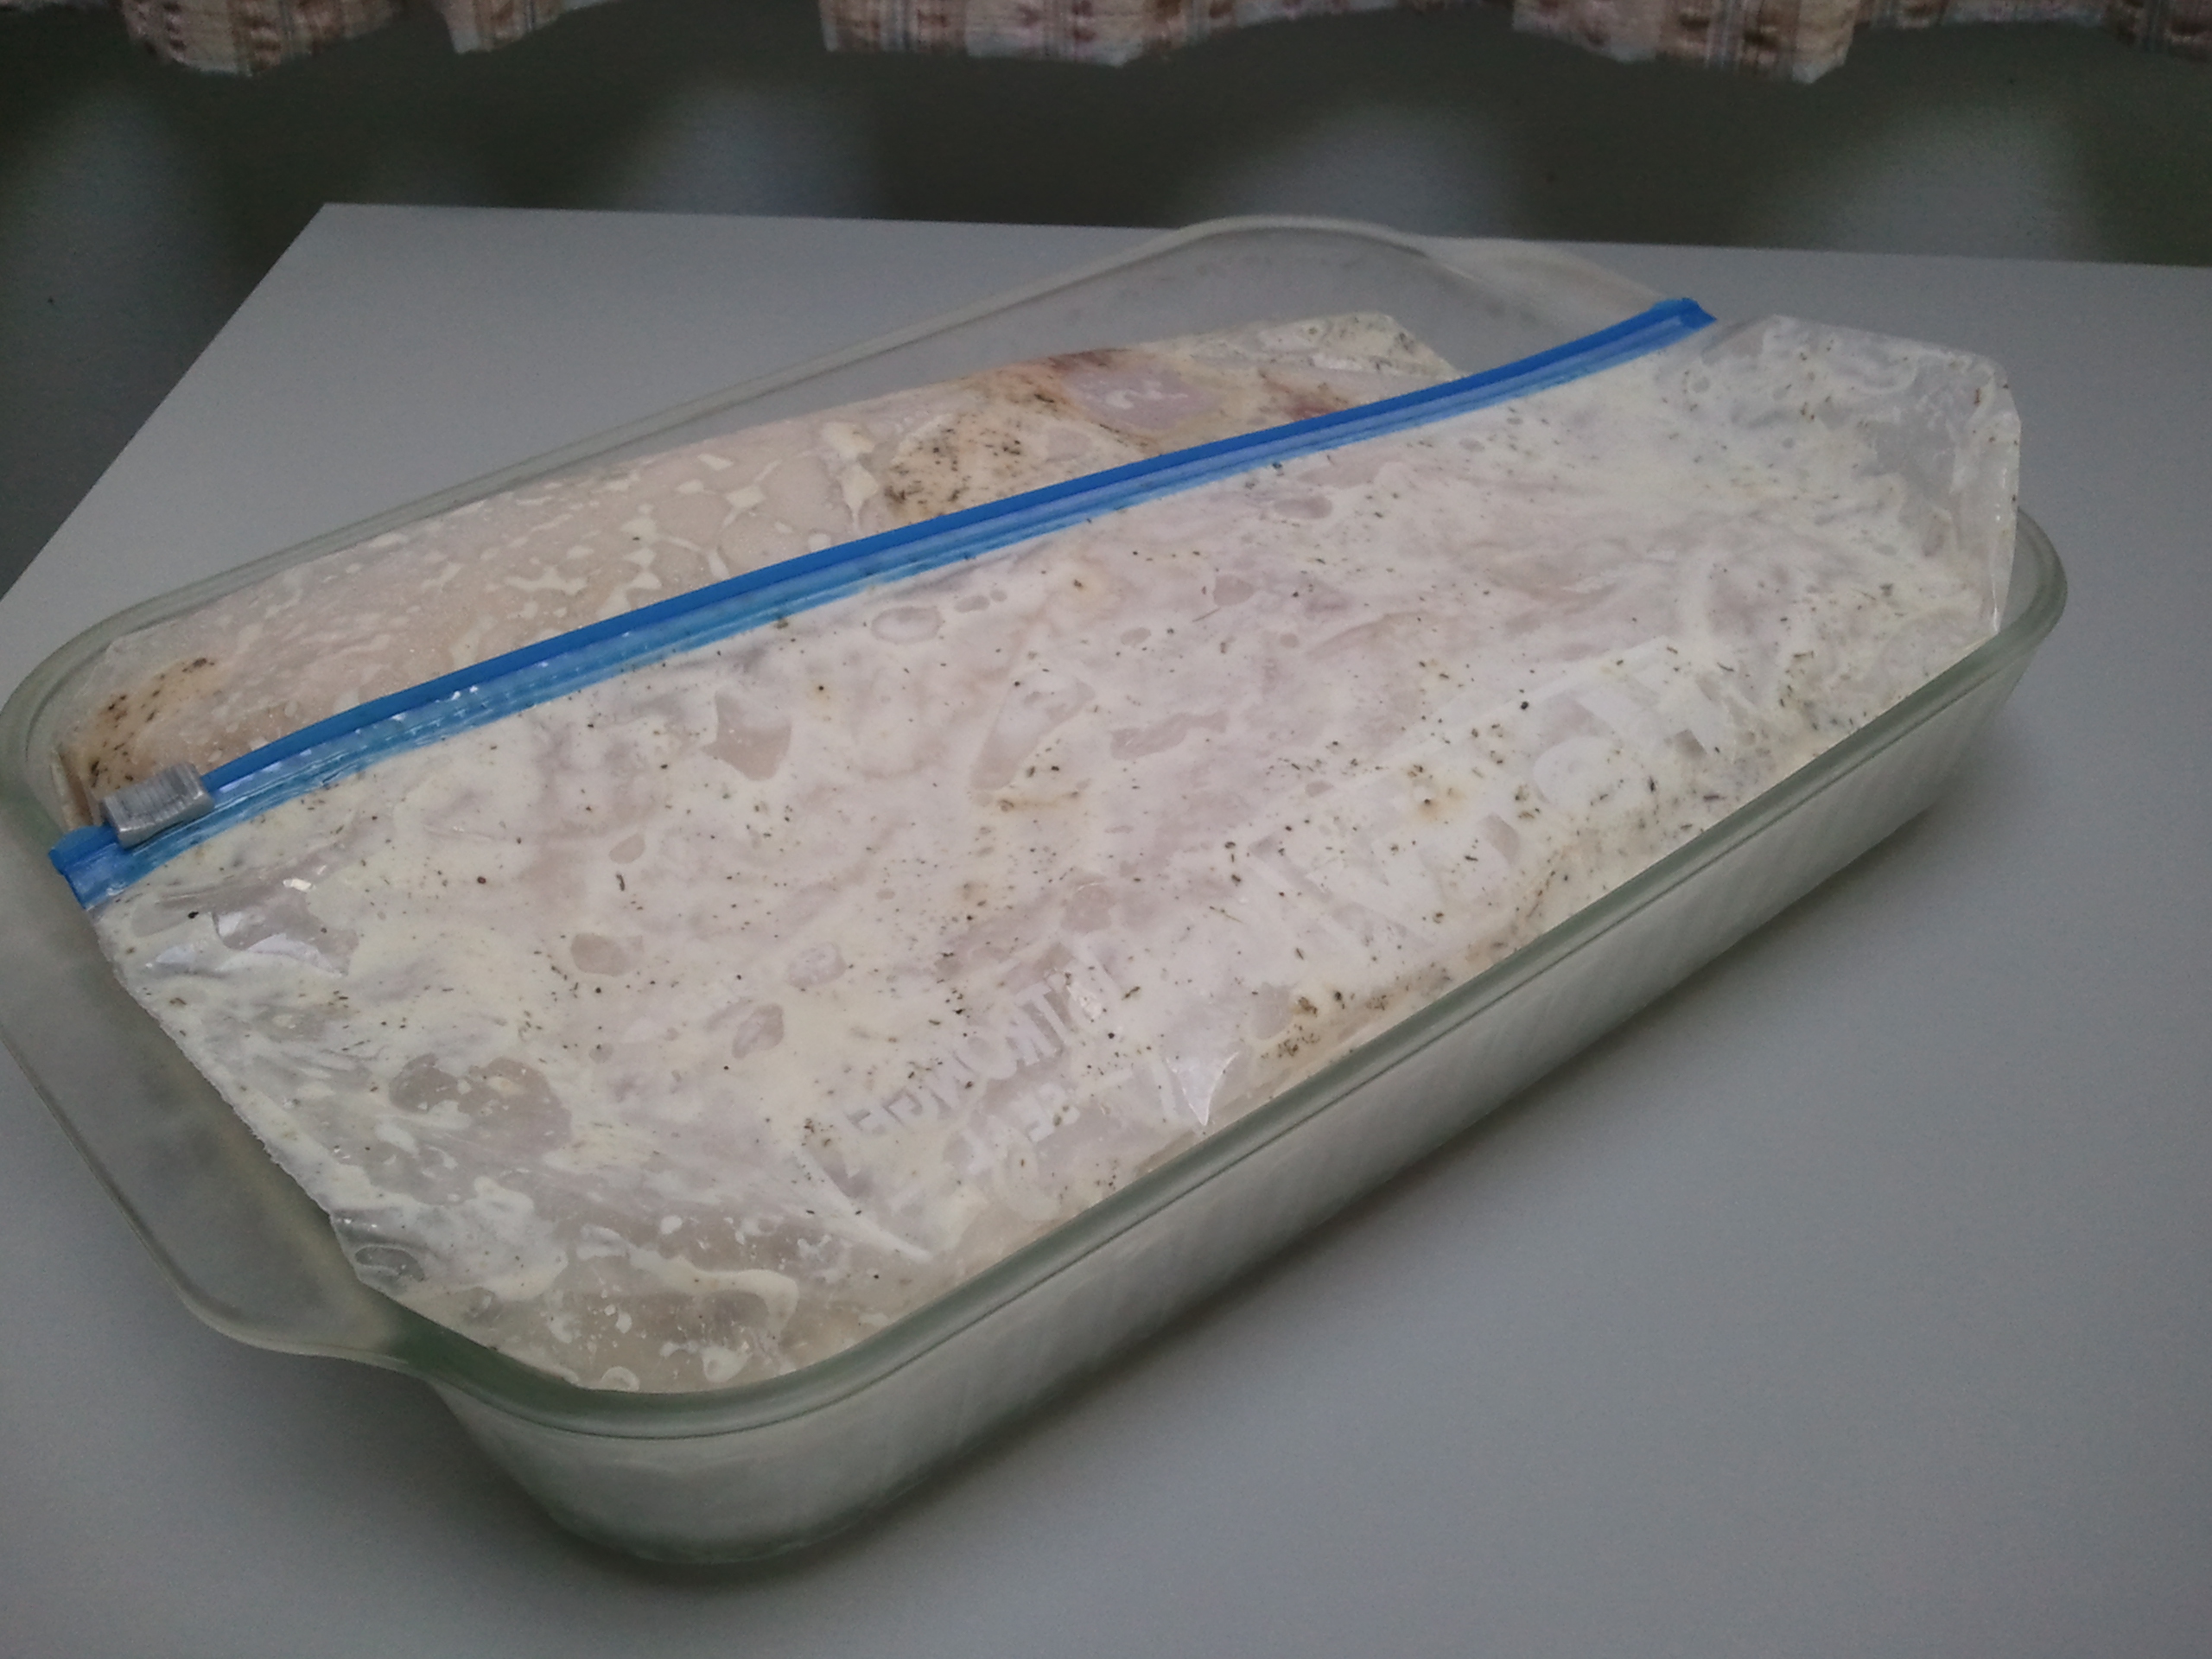
Our brisket technique starts the night before.

Put your brisket in a giant zippered bag (I have some 2.5 gallon name-brand ones from Wal-Mart). The piece pictured above was about 6.5 pounds. We have done one as large as 12 pounds (it was a HUGE zippered bag).

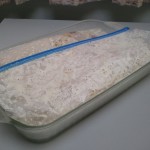
Pour buttermilk into the bag. I use cultured whole-milk buttermilk, since that’s what my butcher carries, but low-fat should be fine. You want to put in enough that the whole piece is covered and there some sloshing about, but not so much that the bag overflows. Smaller briskets will take less than a quart (leaving some leftover for biscuits or a sweet bread). That monster one we did — I think it took almost two quarts.

Dump in some kosher salt (a couple of teaspoons probably), fresh ground pepper, garlic (fresh, granulated, powdered — whatever), dried rosemary, dried thyme, maybe some smoked paprika. Put the brisket in the fridge to marinate overnight.

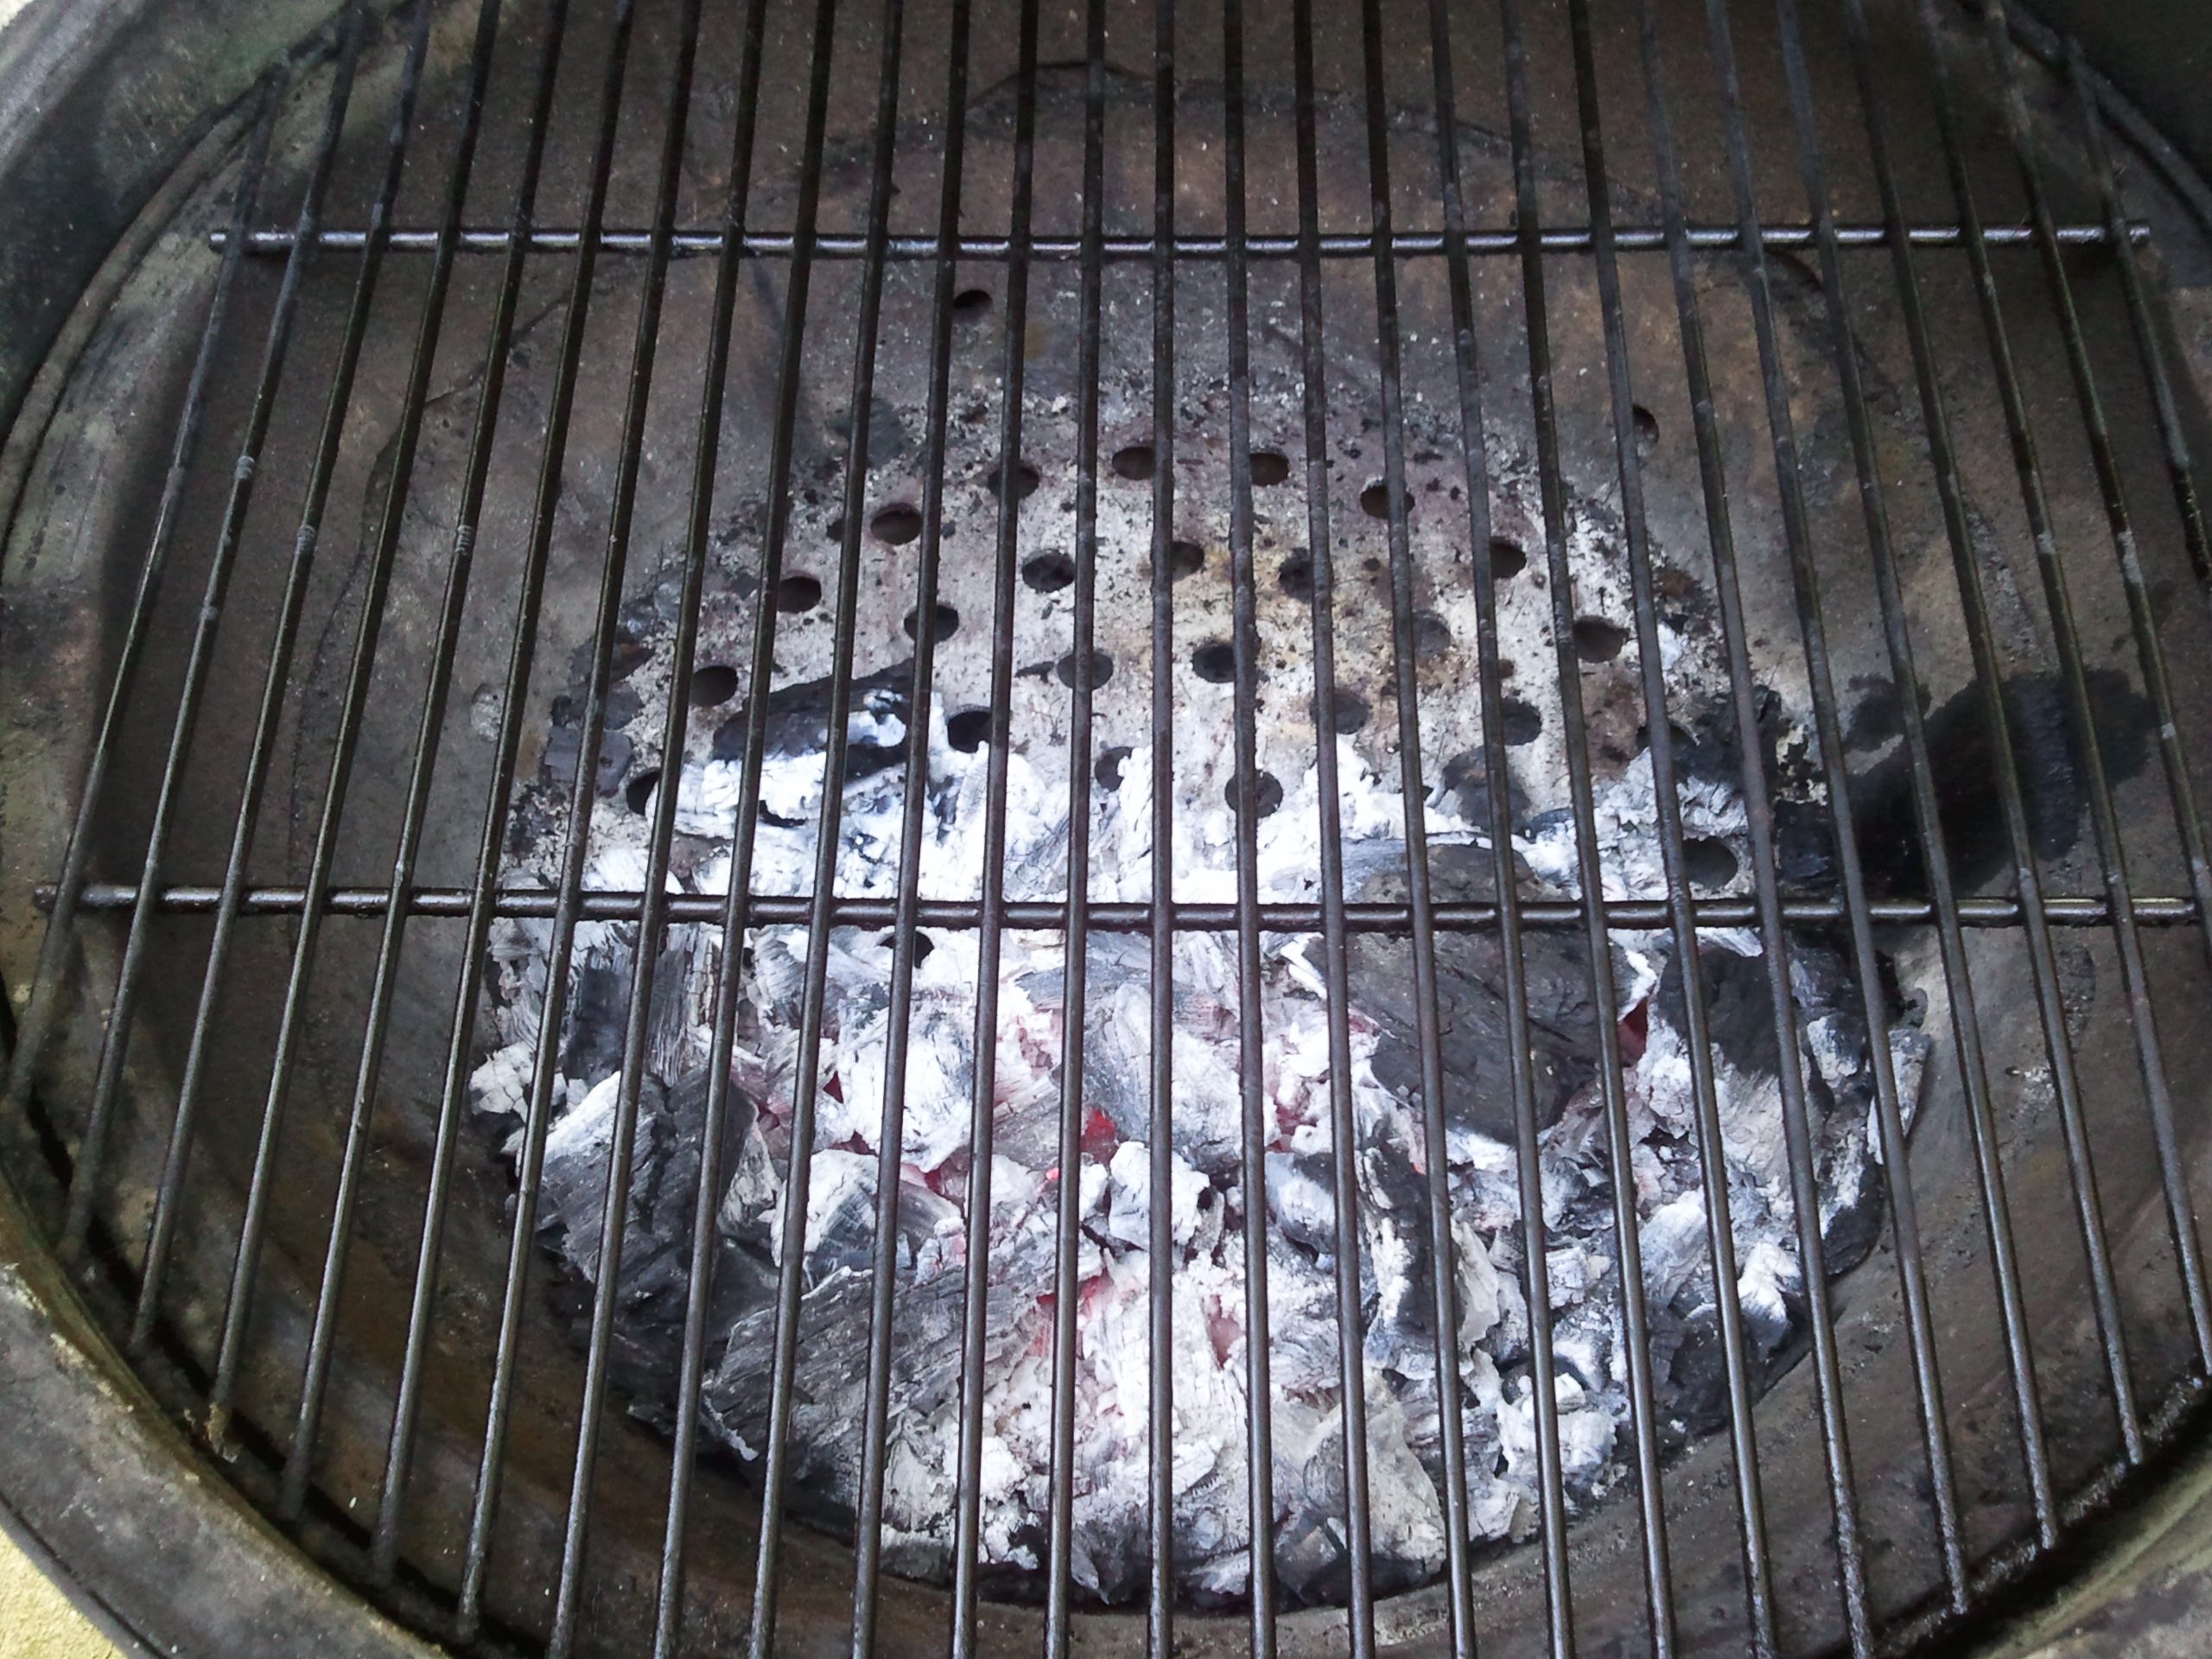
The next morning, you’ll want to get your grill going. We use an electric starter to fire up the lump charcoal (and ONLY lump charcoal … lighter fluid is blasphemy around a BGE) and then set up the grill for indirect grilling with a plate setter. We pull the meat from the marinade, shake off the excess, and put the meat on. Shut the lid and begin the clock-watching. We know, from experience, that this size will take about 6 hours (the 12 pounder took about 9 hours). DISCARD the marinade!

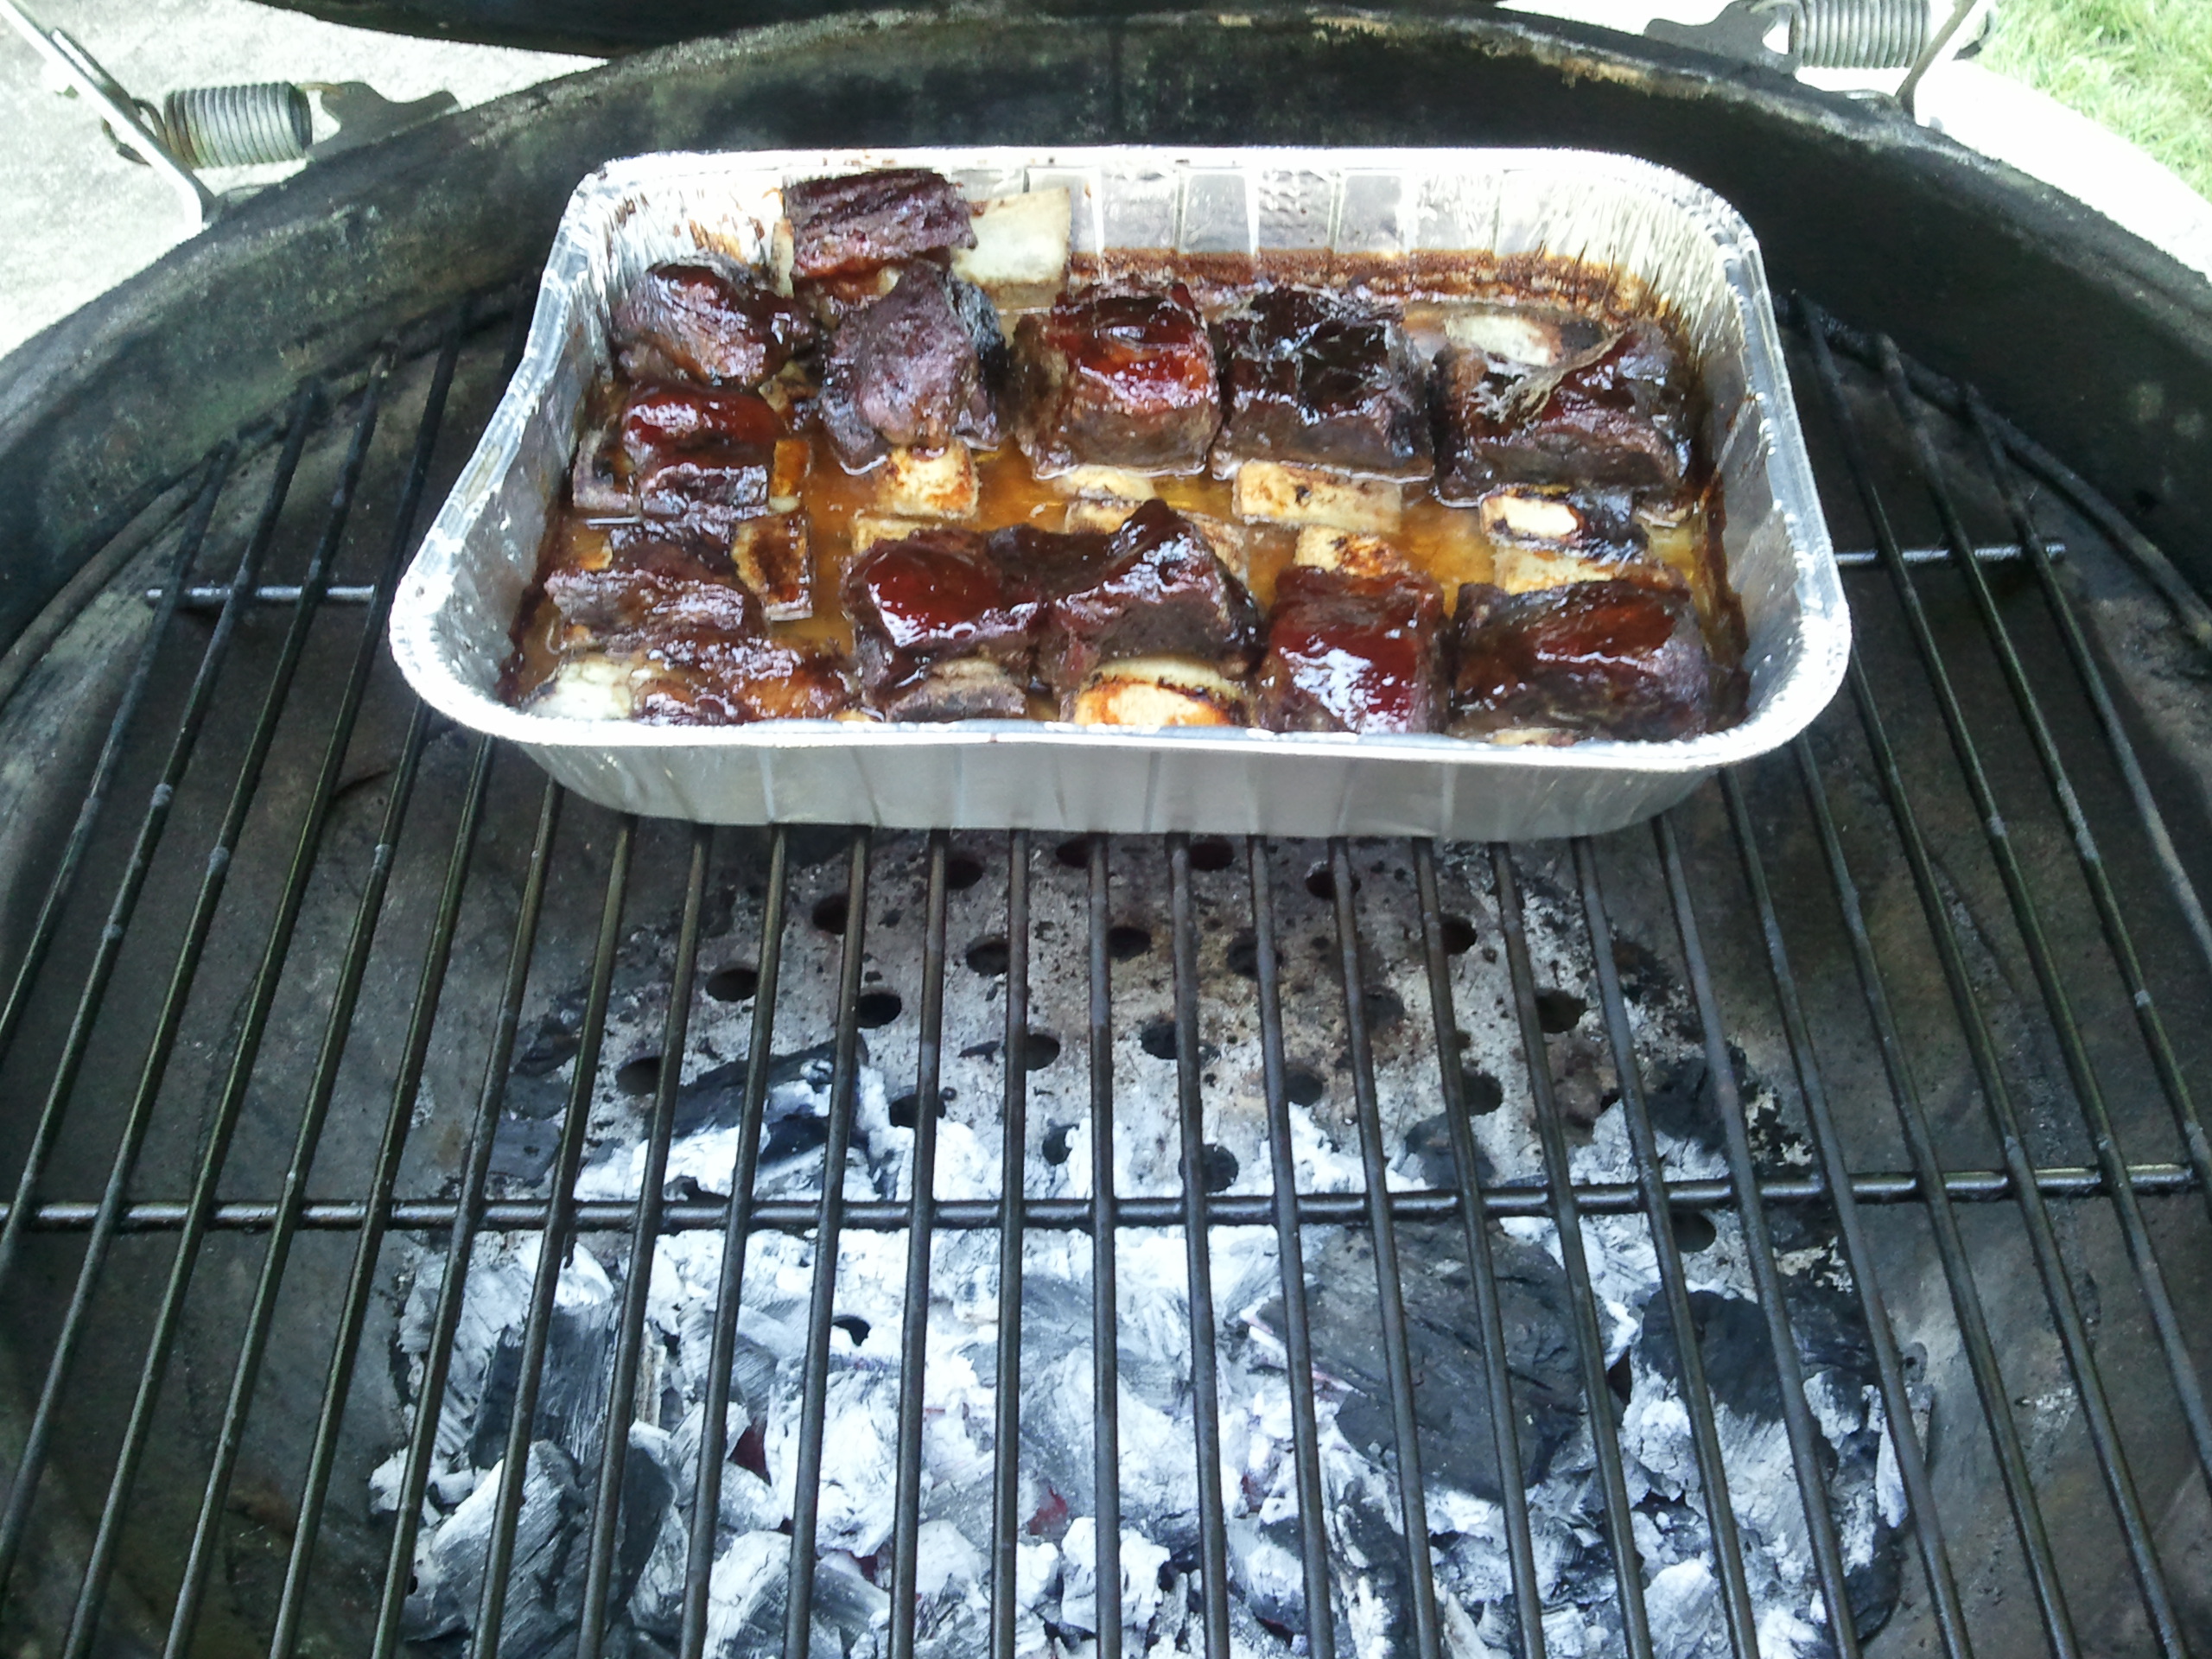
Around the four or five hour mark, we take a peek inside. We’re looking for good brown caramelization, a bunch of fat rendering, and some shrinkage. Around this time we pull the brisket off, wrap it well in aluminum foil, and then PUT BACK ON the grill, still set up for indirect. We let it finish cooking the remaining hour or two wrapped in foil.

Why? Well, at this point, you probably aren’t getting any more smoke flavor into the meat. Whatever smoke ring and coloring you are gonna get, you done got. Also, this is about the time the internal temperature tends to plateau. Wrapping will hold in that heat and get the internal temperature rising again. Finally, the foil holds in the still-to-be-rendered fat and helps the meat to steam and stay moist for the last bit of cooking. You sacrifice some exterior “crustiness” but it’s worth it.

SAMSUNG

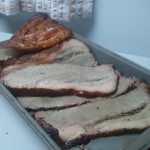
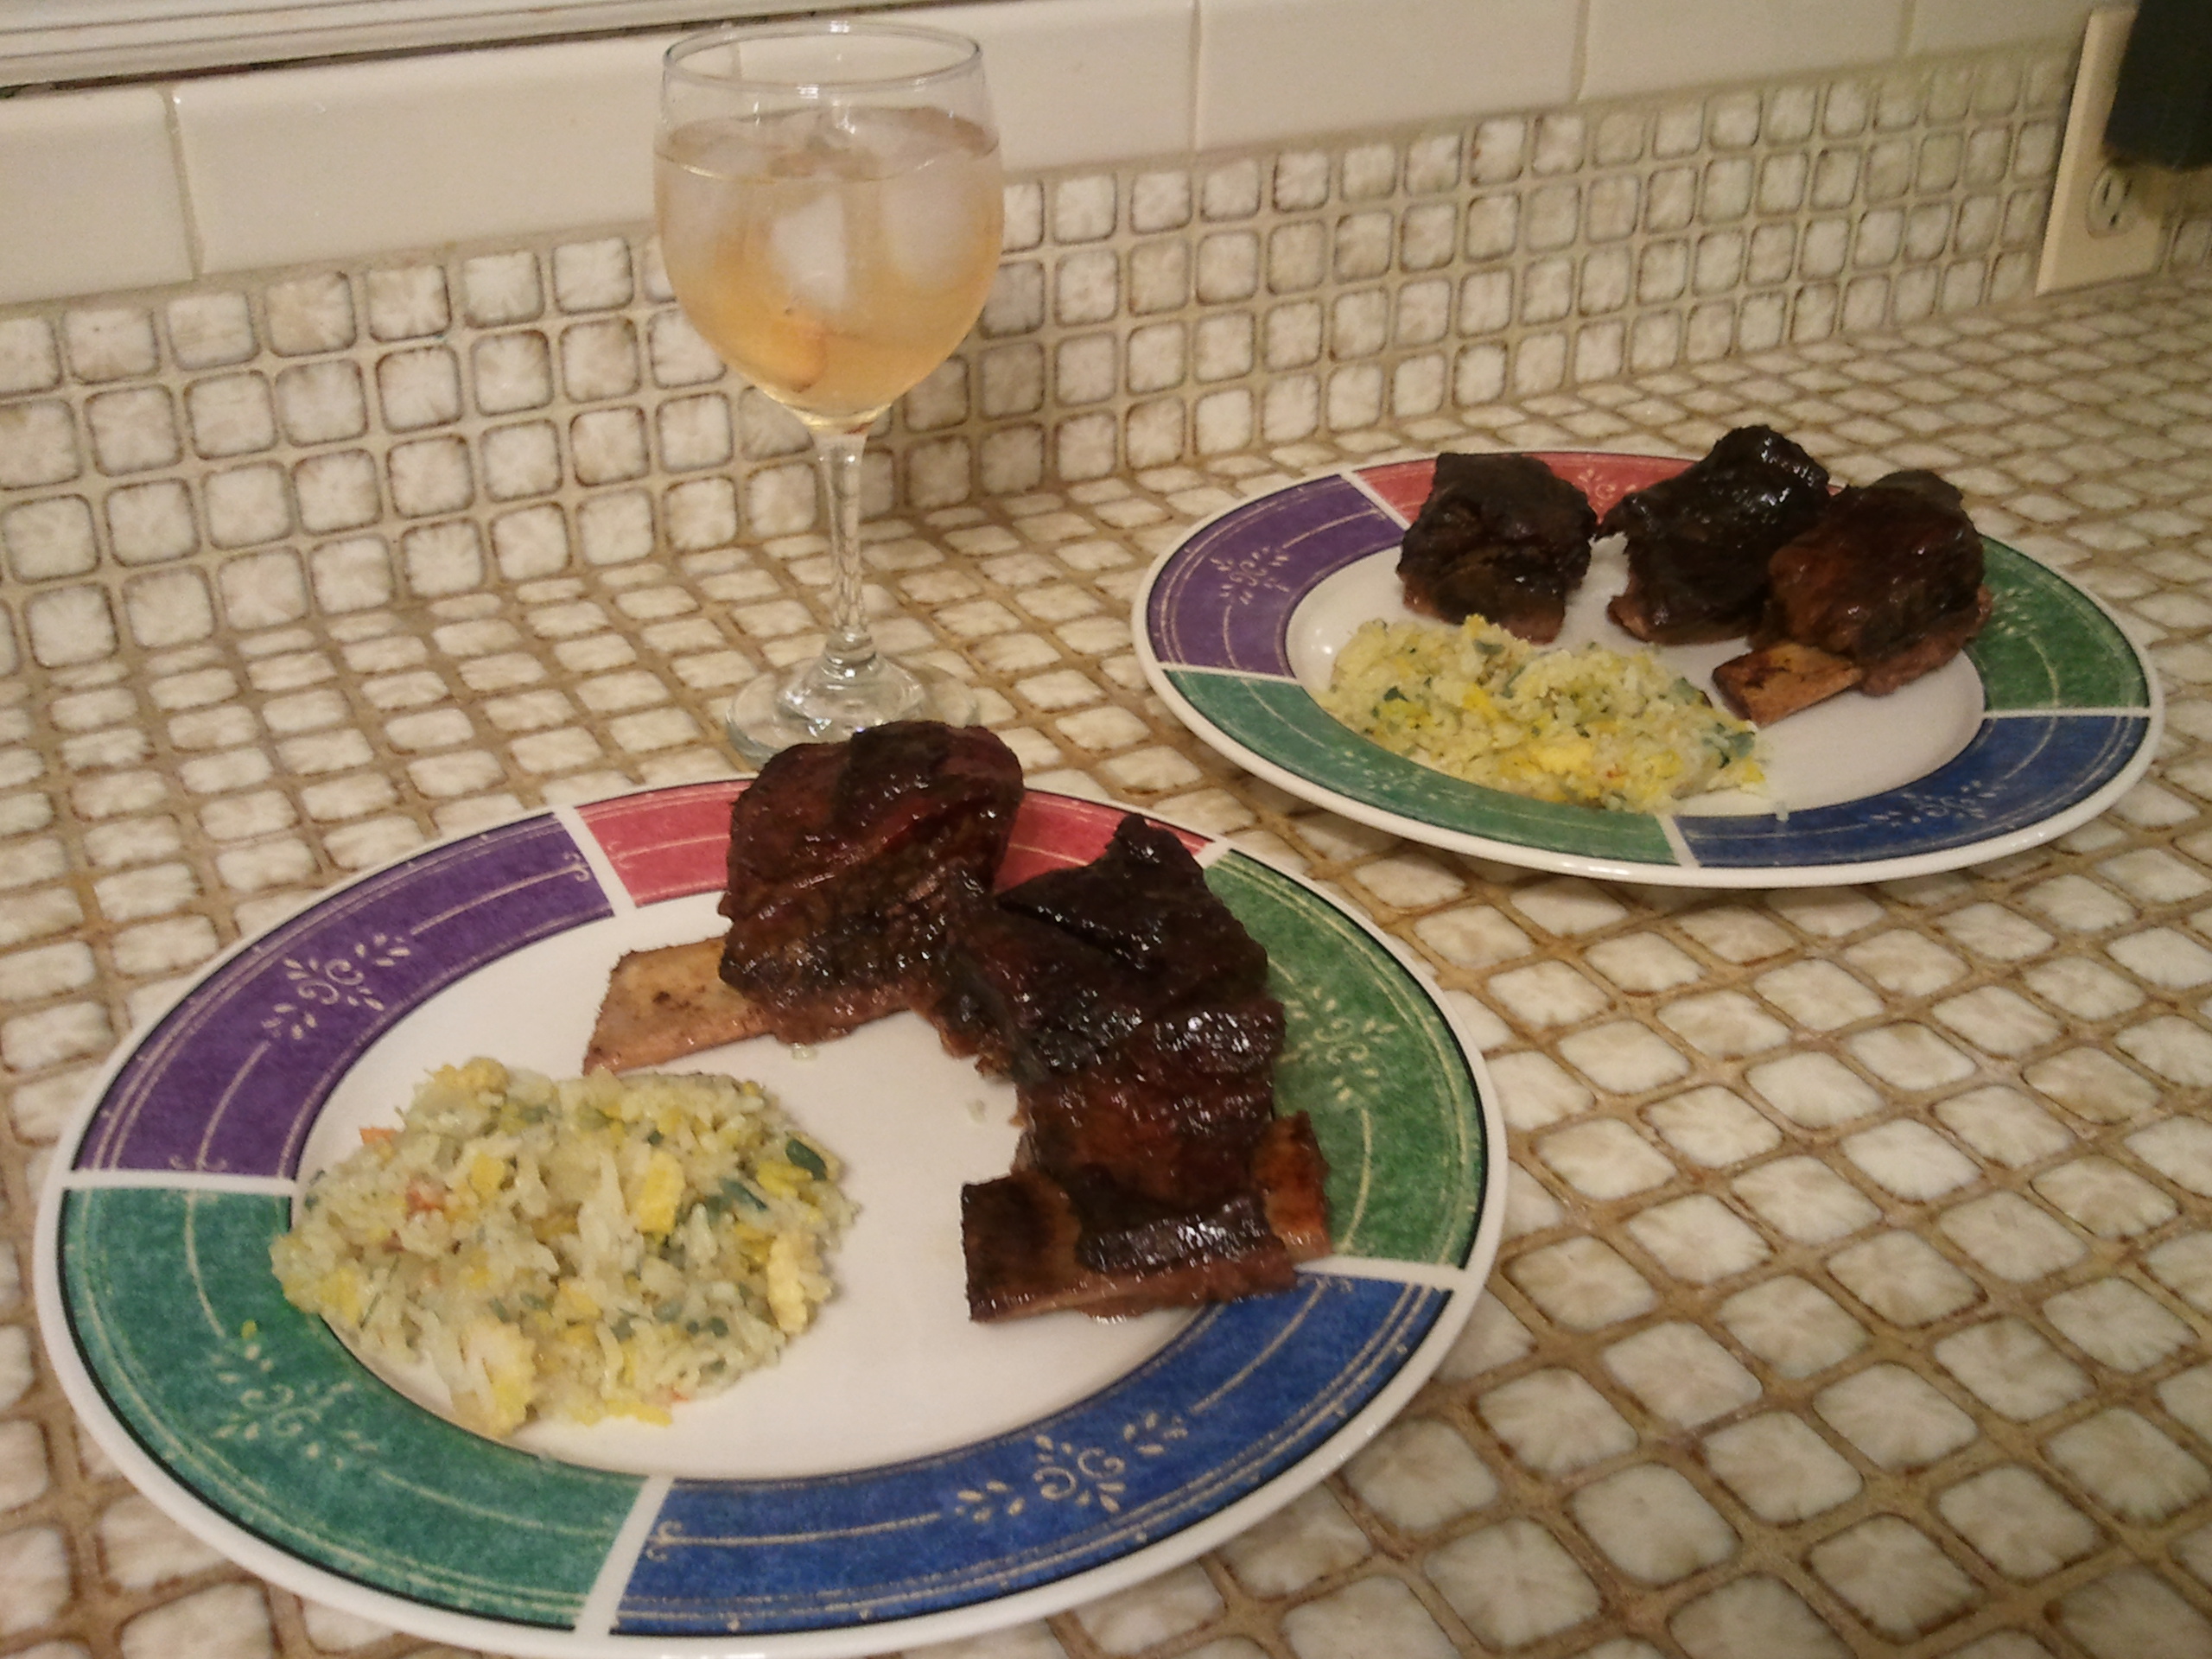
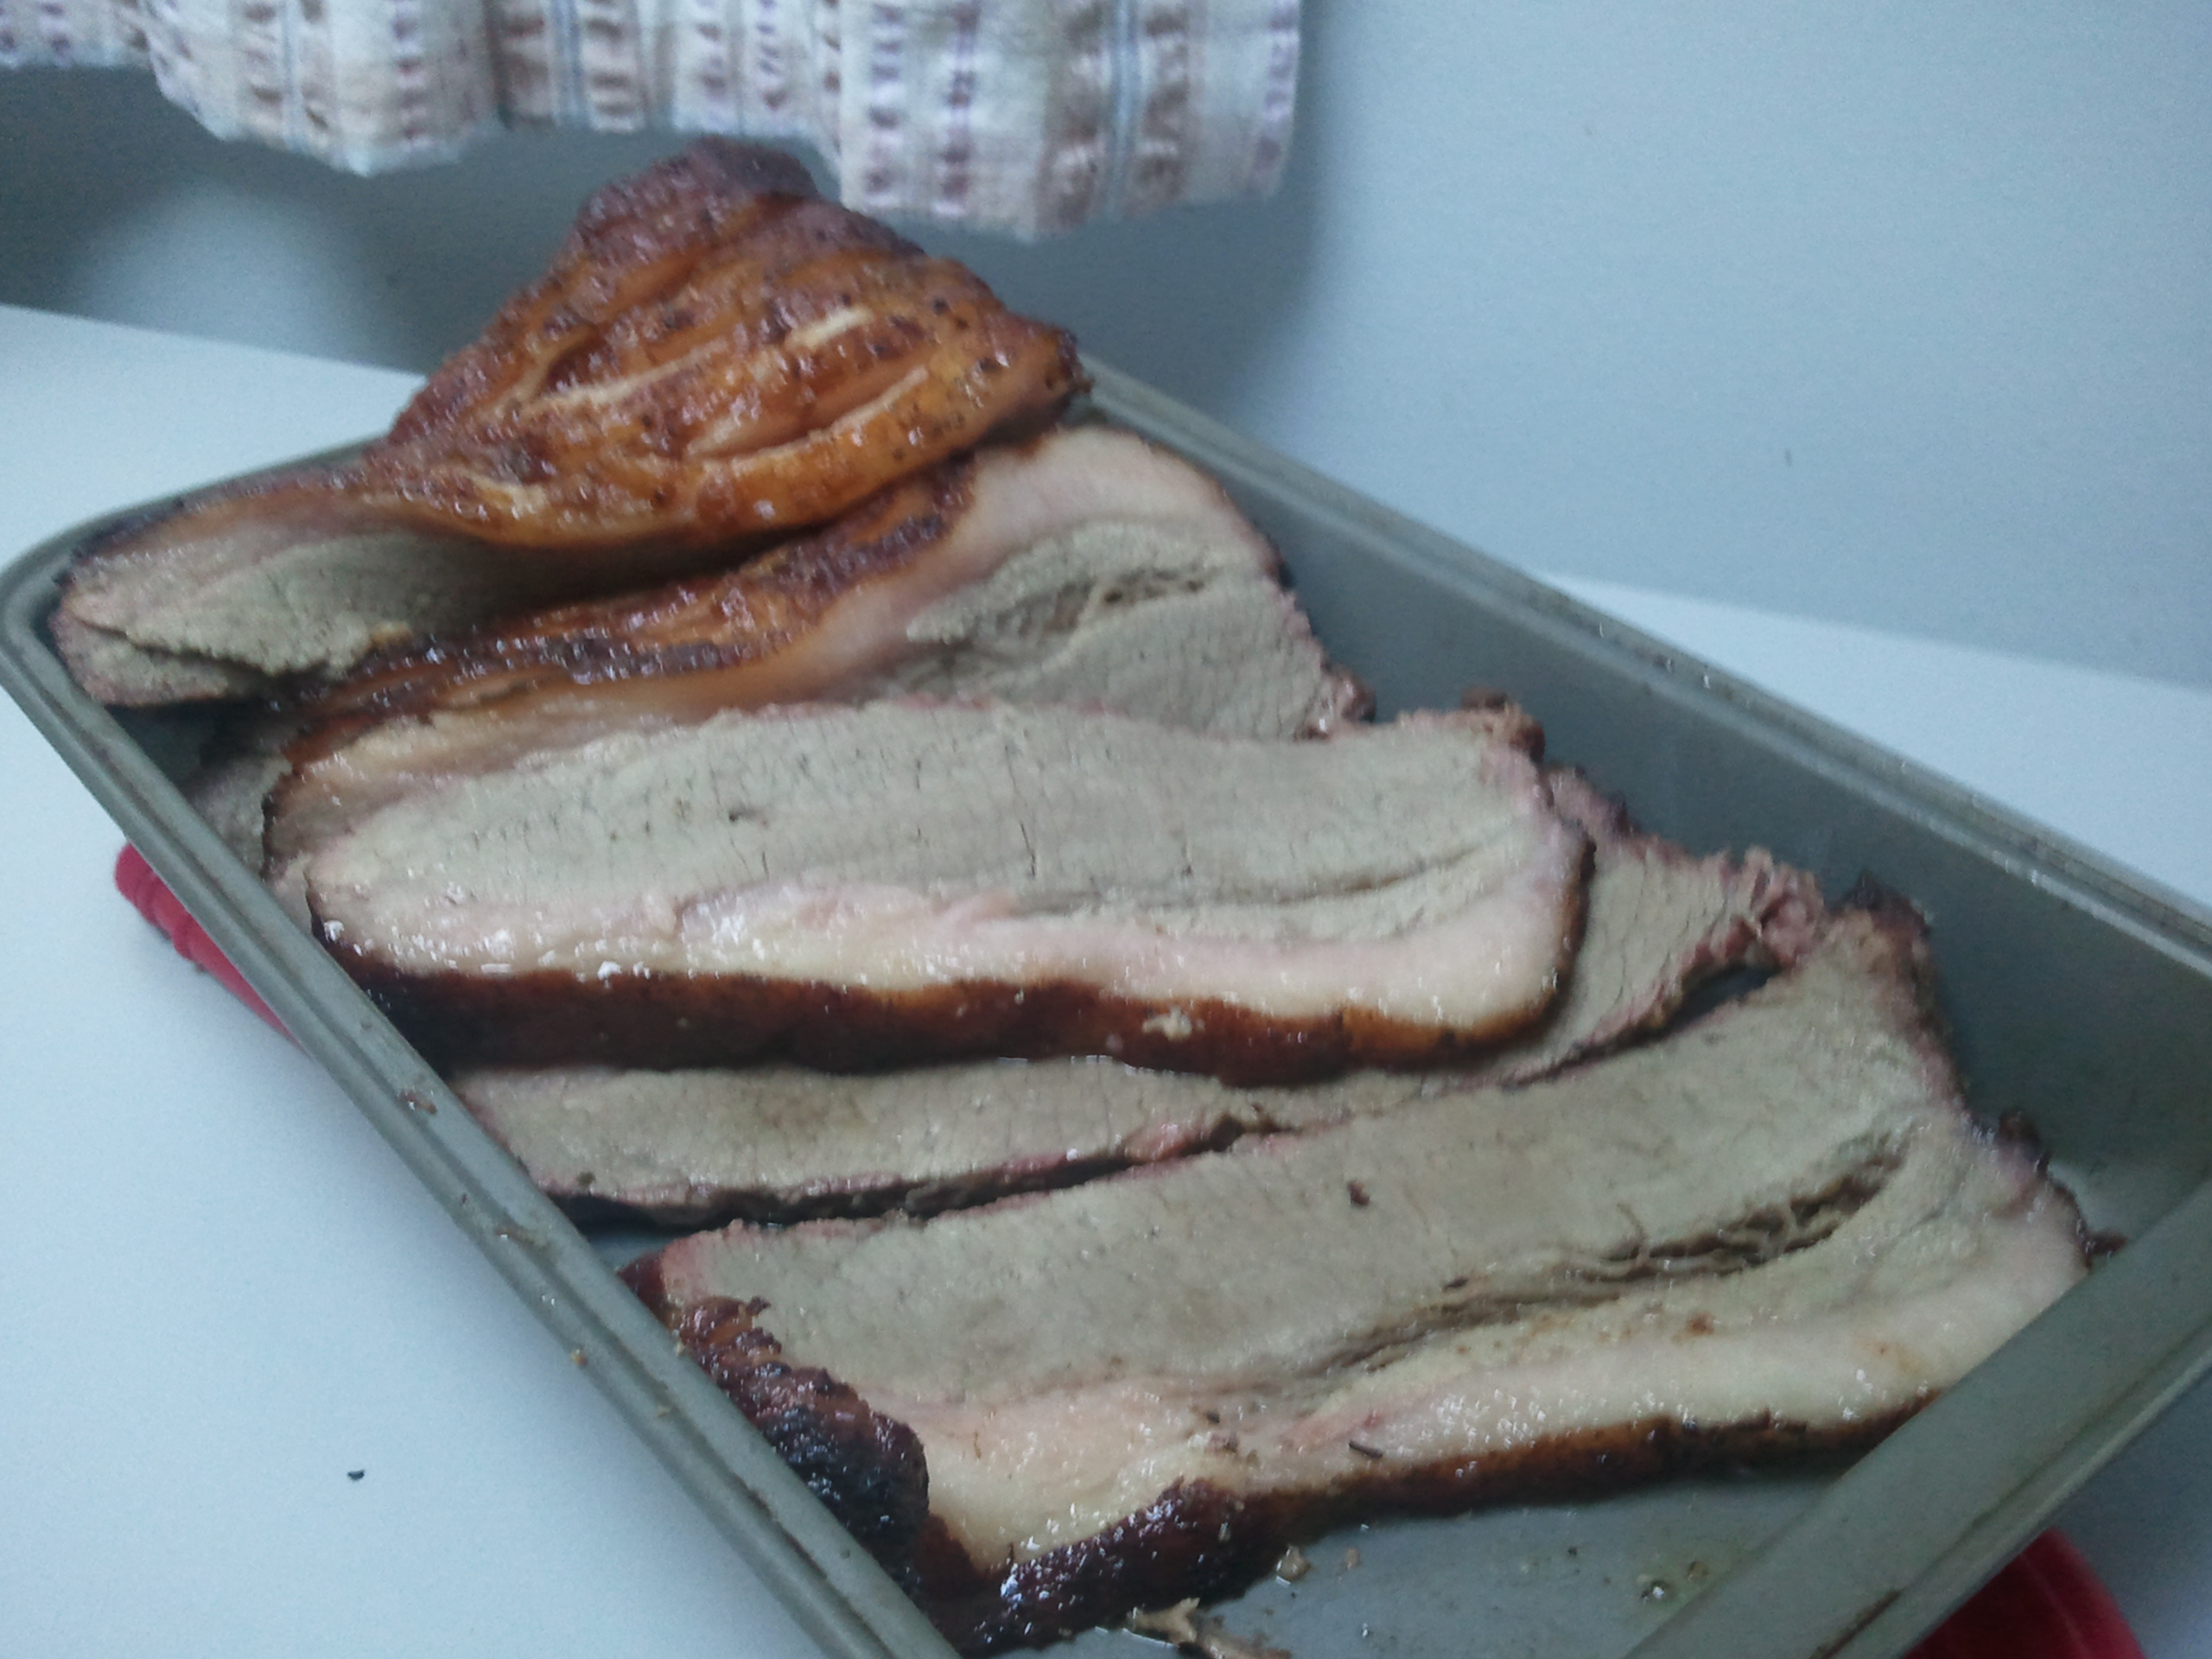
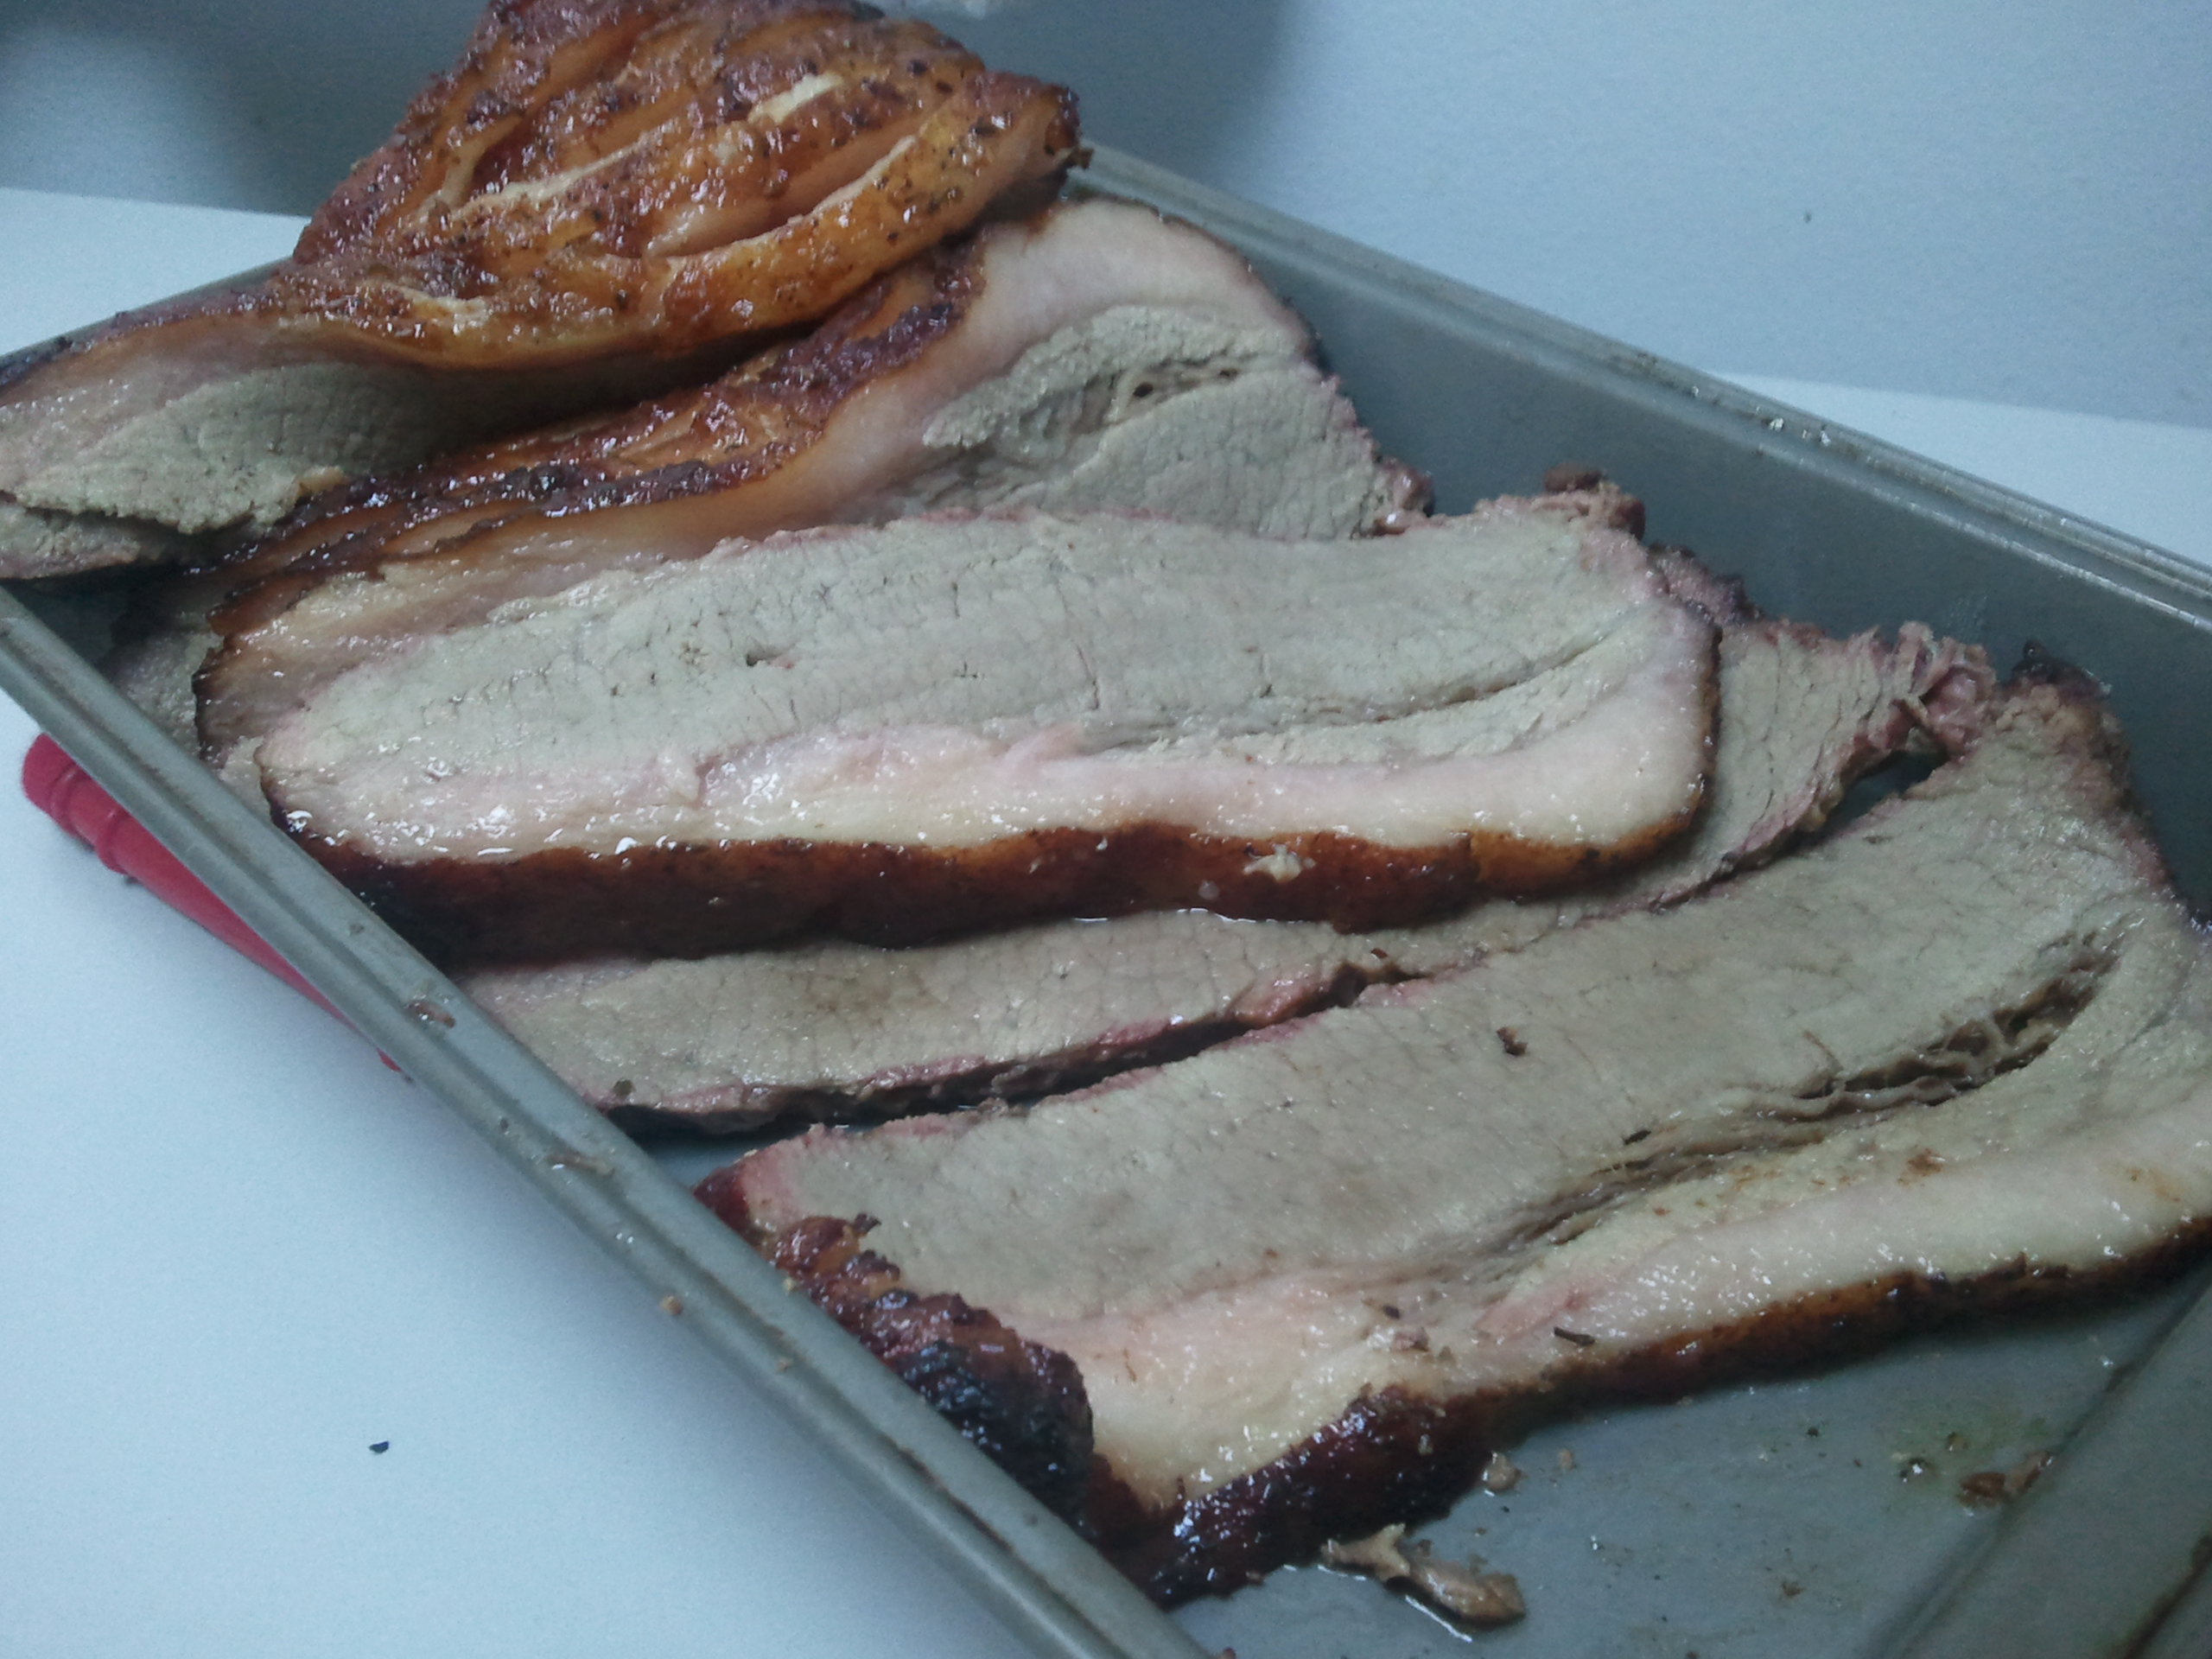
You know it’s done when you put in a thermometer and it feels like butter. Seriously, somewhere around 195F. Pull the wrapped meat and put on a cookie sheet (it’s pretty drippy) to rest for at least 20 minutes. We like to slice with an electric knife or get our friend Steve to do it with his fancy electric slicing machine.


After we pulled the meat, my husband pulled off the grate, pulled off the ceramic plate setter, put the plate setter out of reach of the dog, put the grate back on, and got the temp up around 400F. We then threw a dozen ears of corn, still fully husked, on the grill. Shut the lid and let them go about 5 or so minutes. Lift the lid, flip them and rotate (there’s always a hot spot), then shut the lid for another 5 or so minutes. You are trying to get good grill marks on the husk (’cause it looks fancy) and a little smoke into the corn, but pretty much just heating it up and letting it steam in its own husk.

SAMSUNG

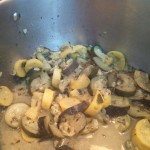
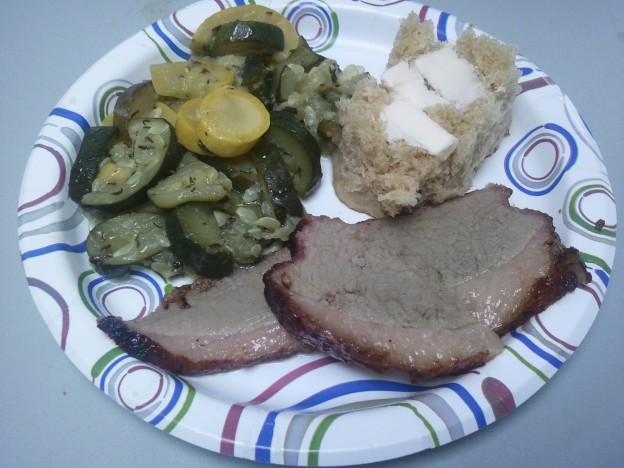
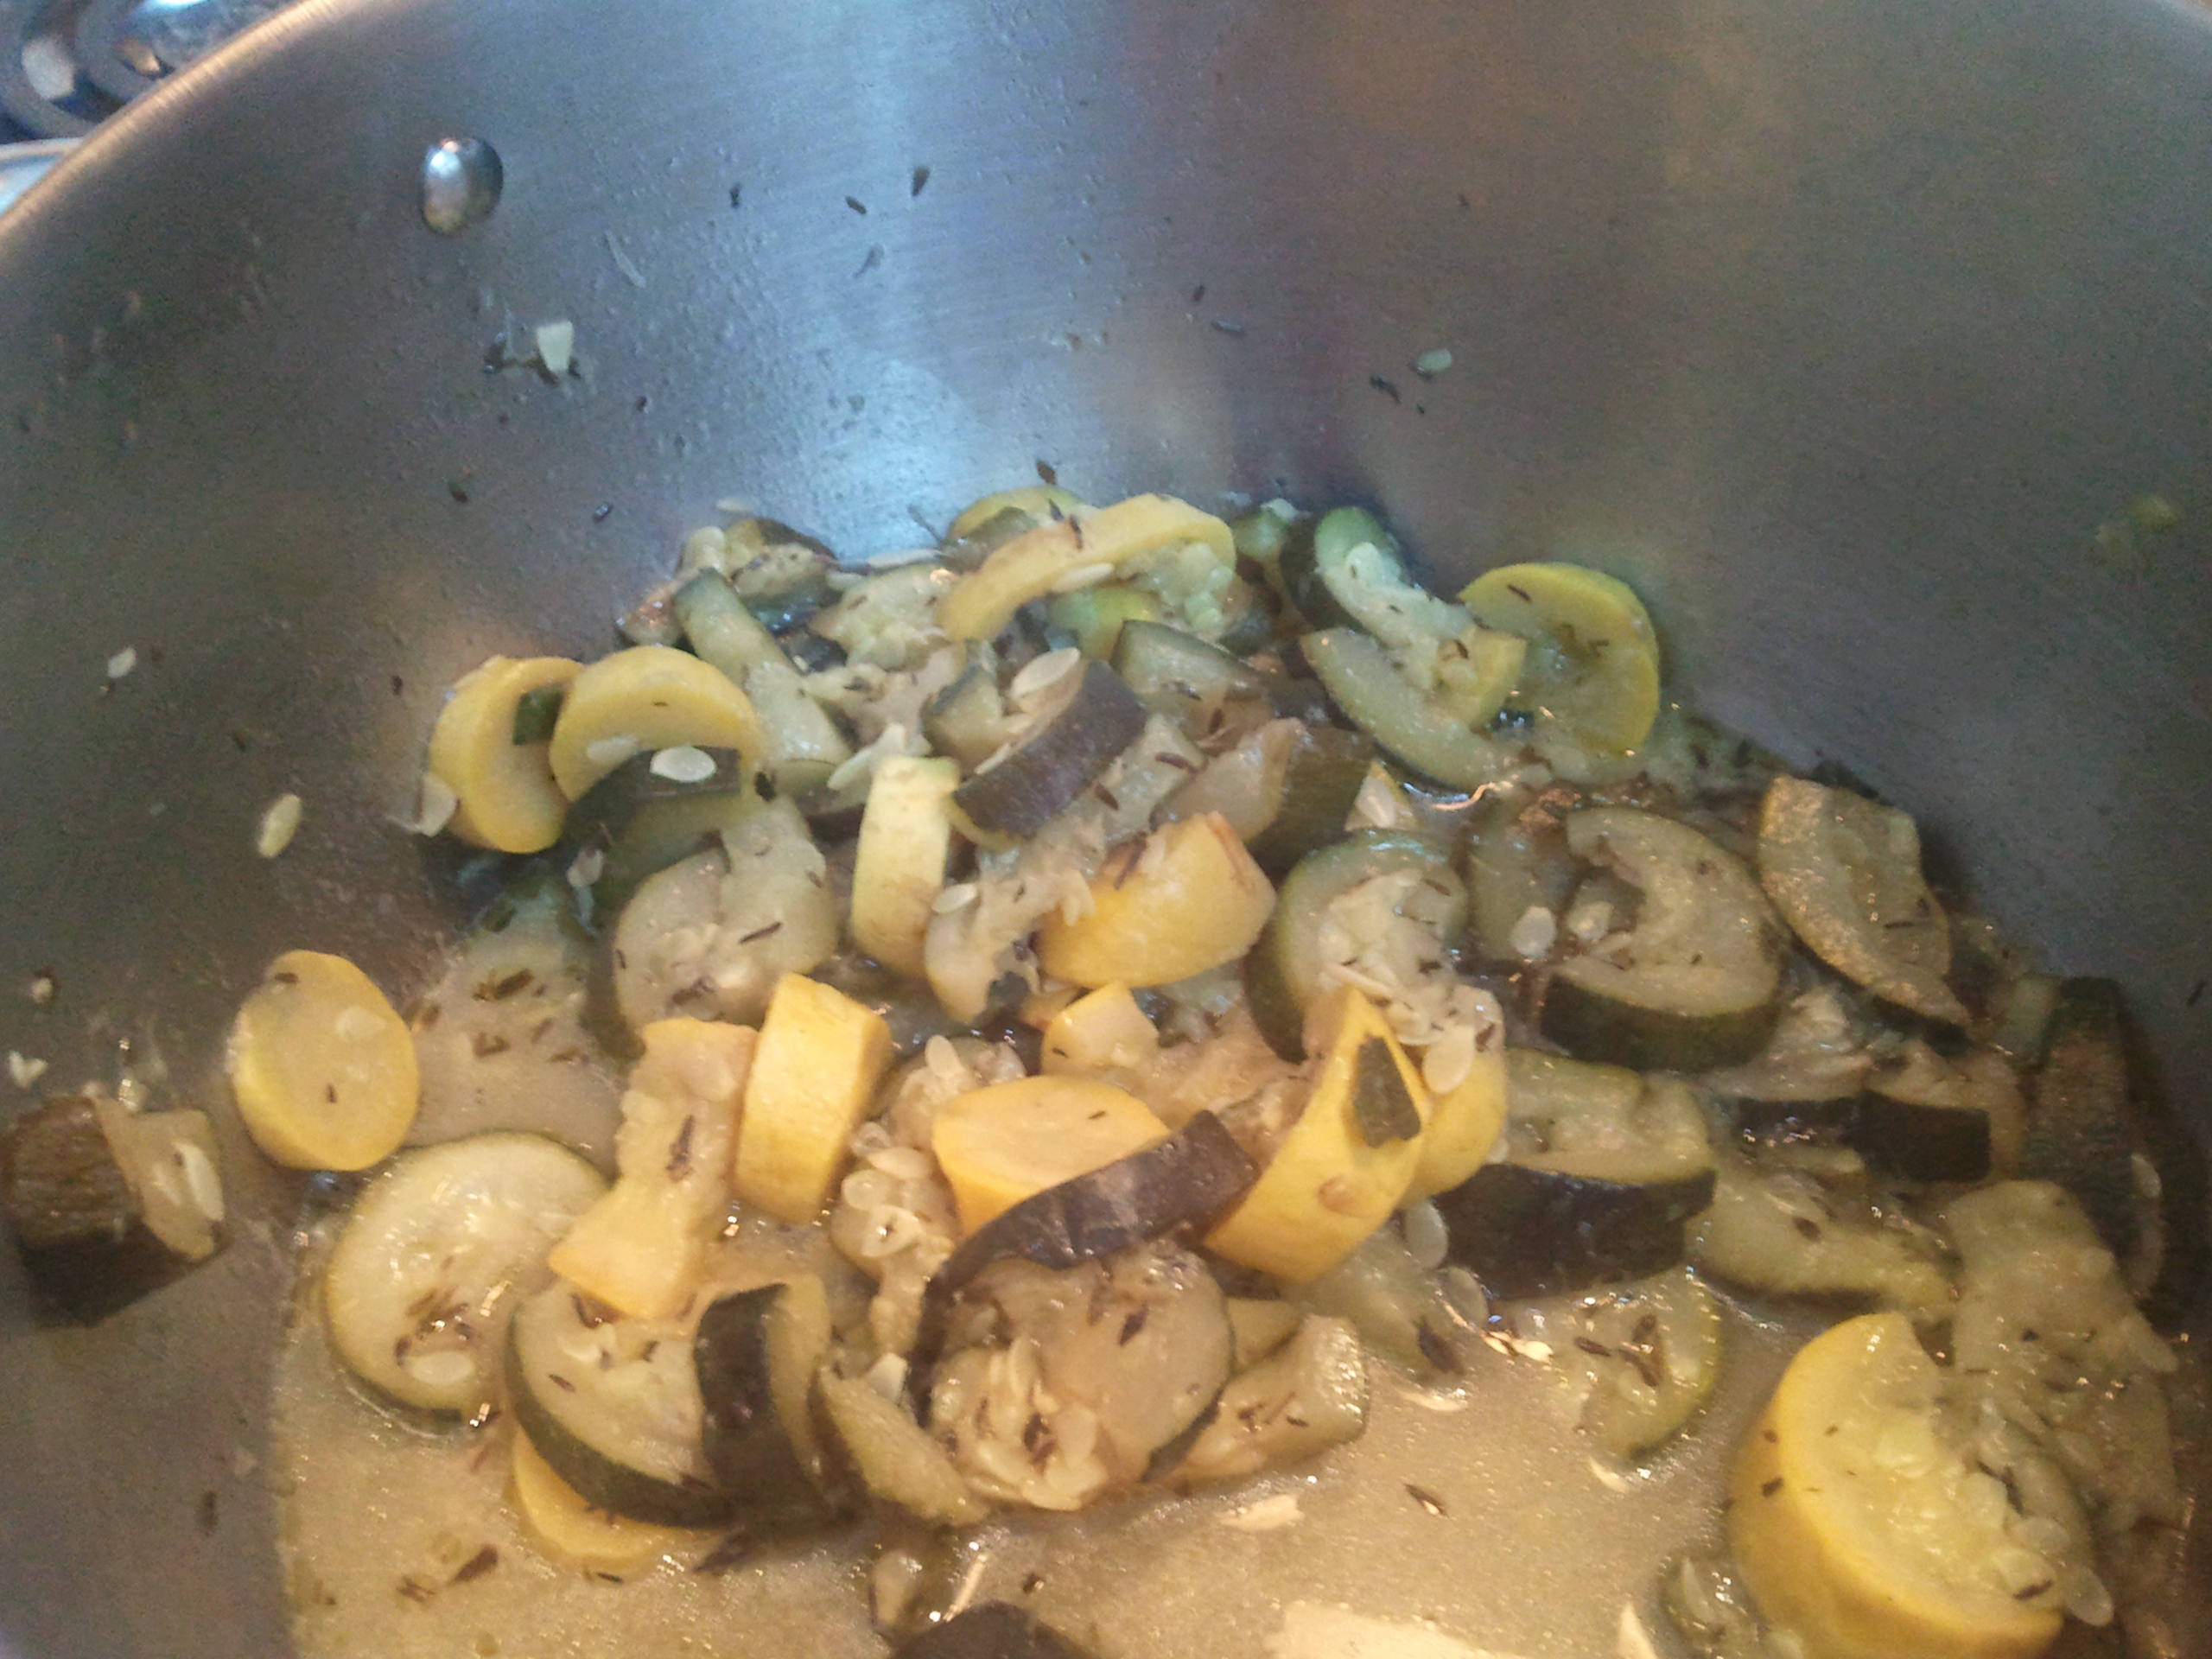
Earlier, in the (relative) cool of the morning, I cooked off some summer squash. I think I had four zucchinis and two yellow crooknecks. Slice ’em kinda chunky, throw in a pot with a couple tablespoons of butter, a pinch of salt, and maybe some dried thyme. Bring to a bit of simmer, cover, and let steam until soft but not mush. They reheated nicely later in the day.


SAMSUNG

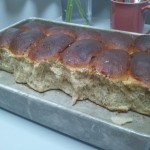
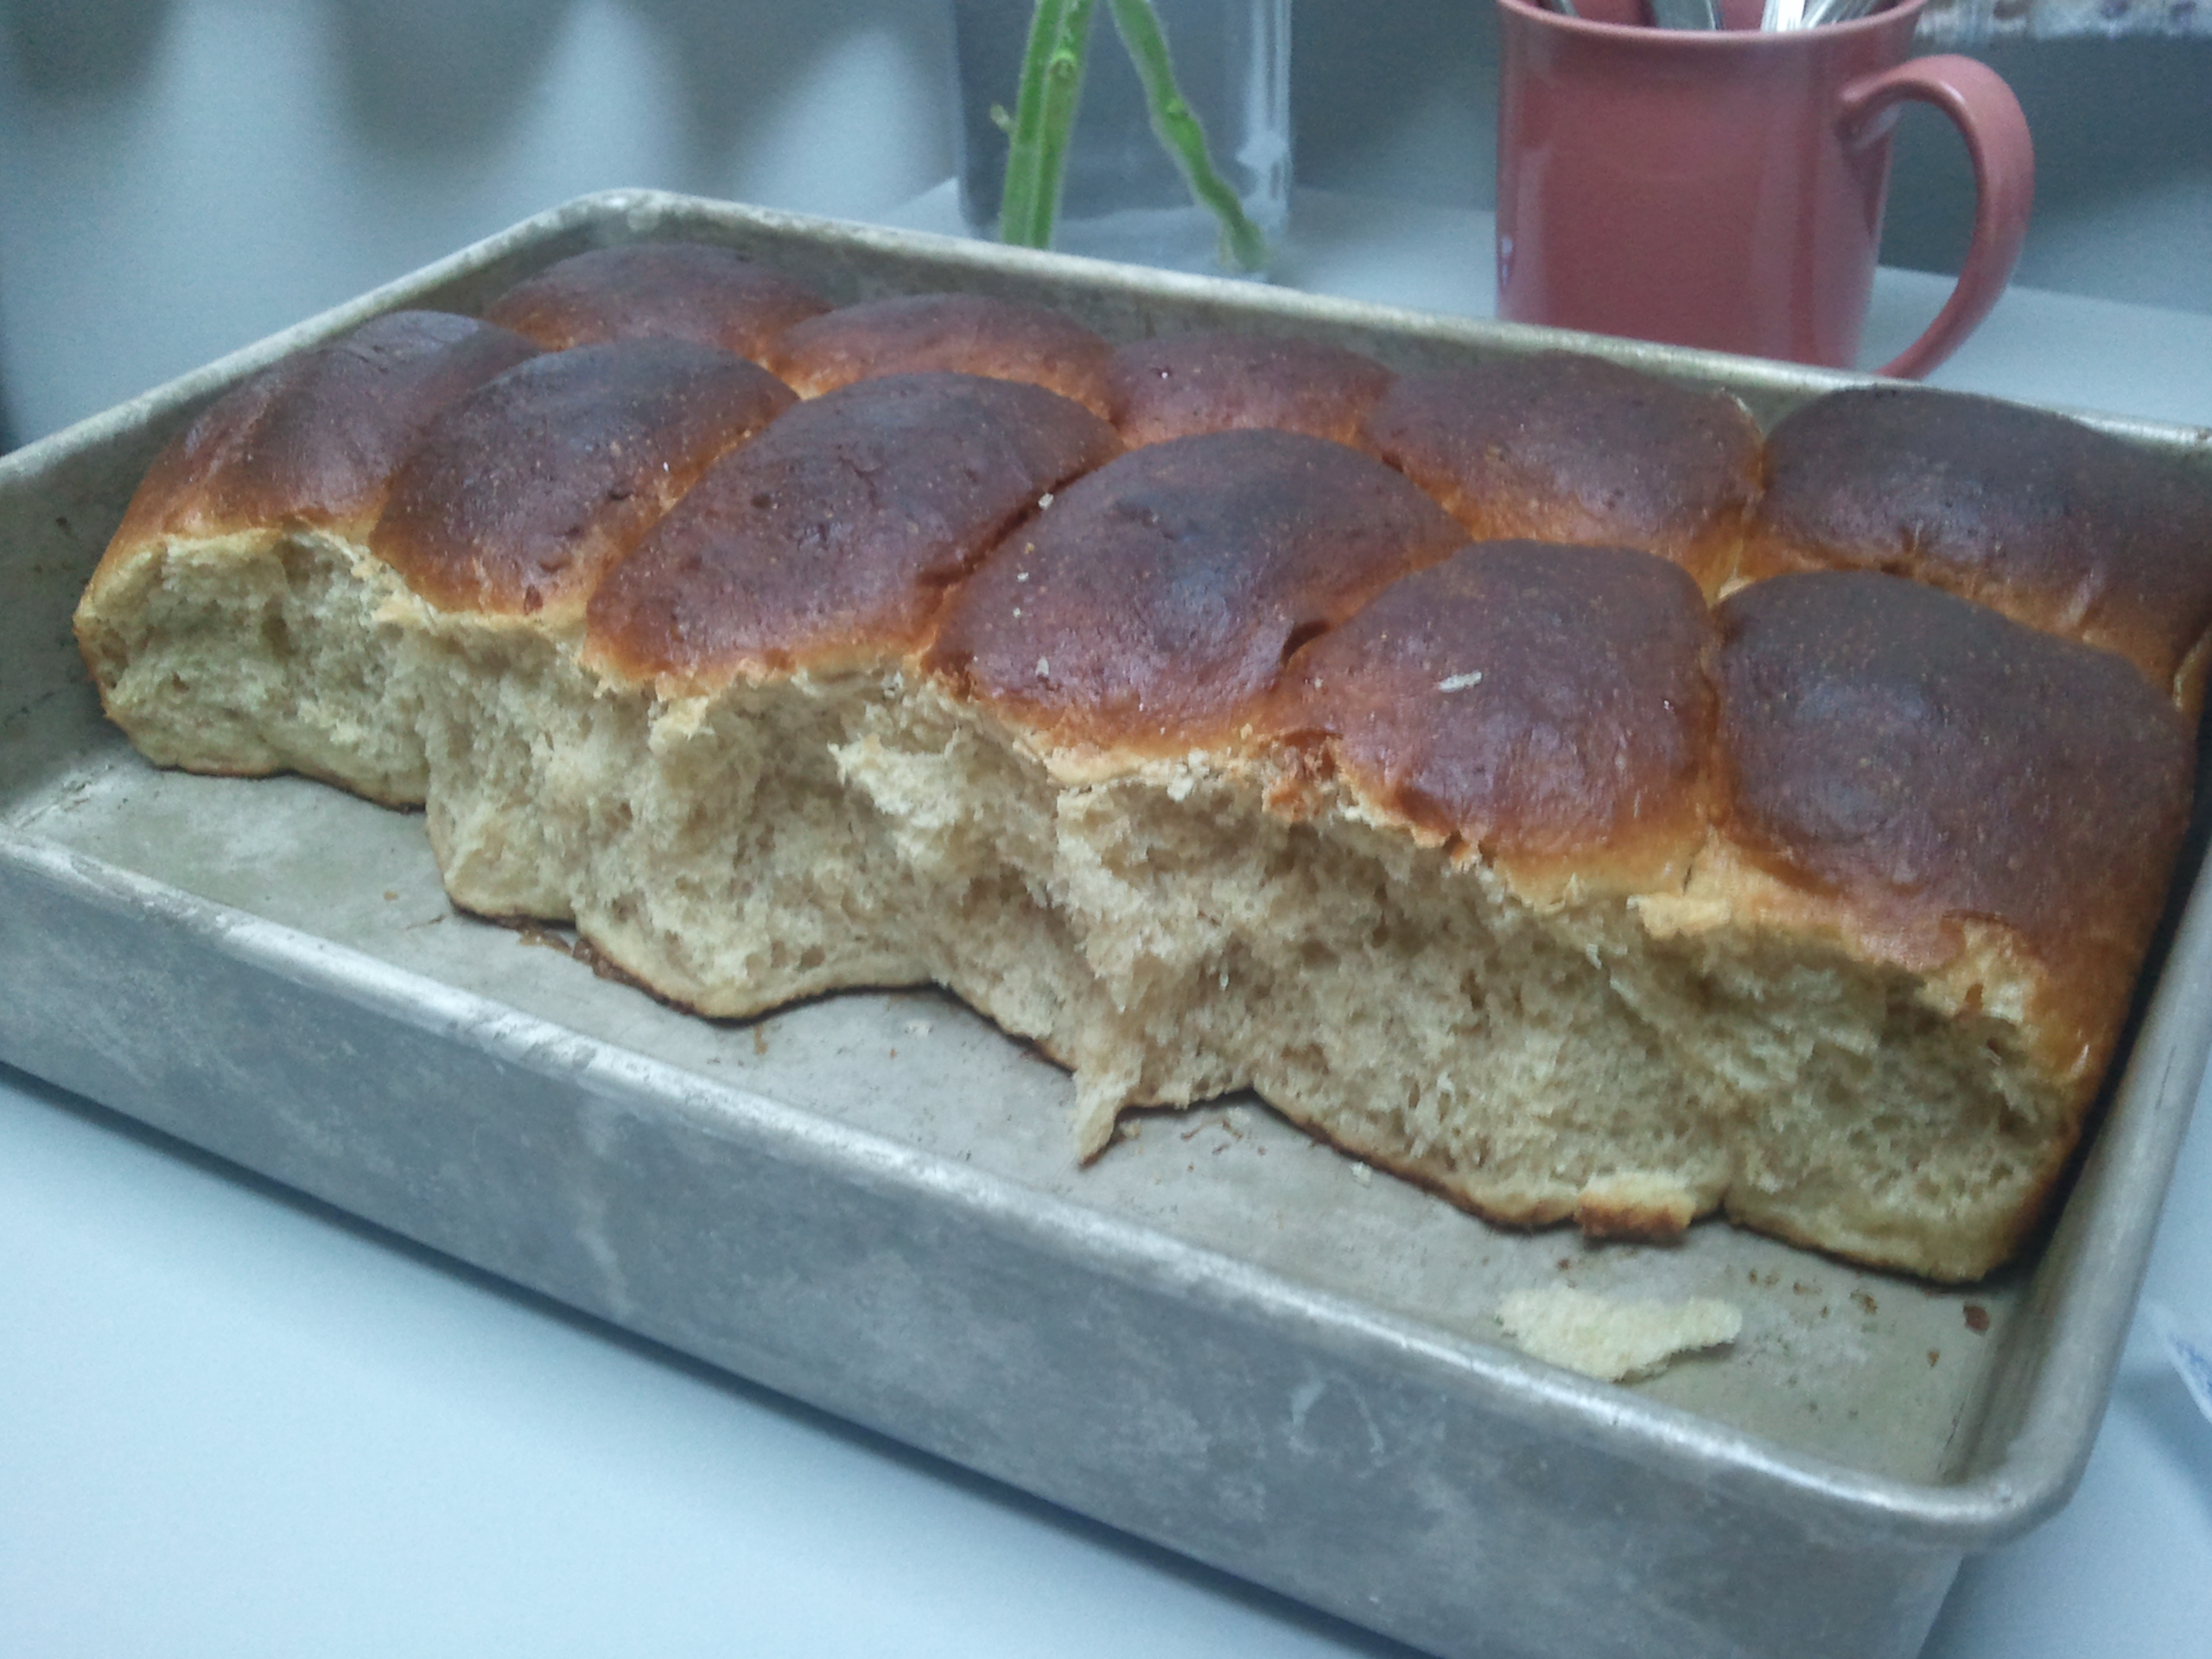
The day before, I had baked off some honey-wheat rolls from ATK/Cook’s Country. These are AMAZING, and surprisingly have more whole wheat flour than white flour, so I feel kinda virtuous making them. I really don’t buy much bread — I tend to make it — so these are a nice addition to my repertoire.


Our guests brought pie and ice cream. No pictures of those, but I will confess to eating raspberry pie for breakfast on Saturday.

SAMSUNG

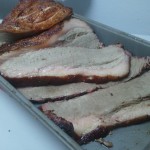
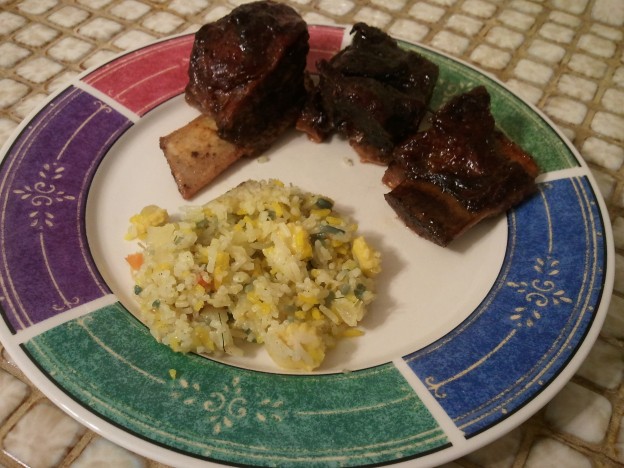
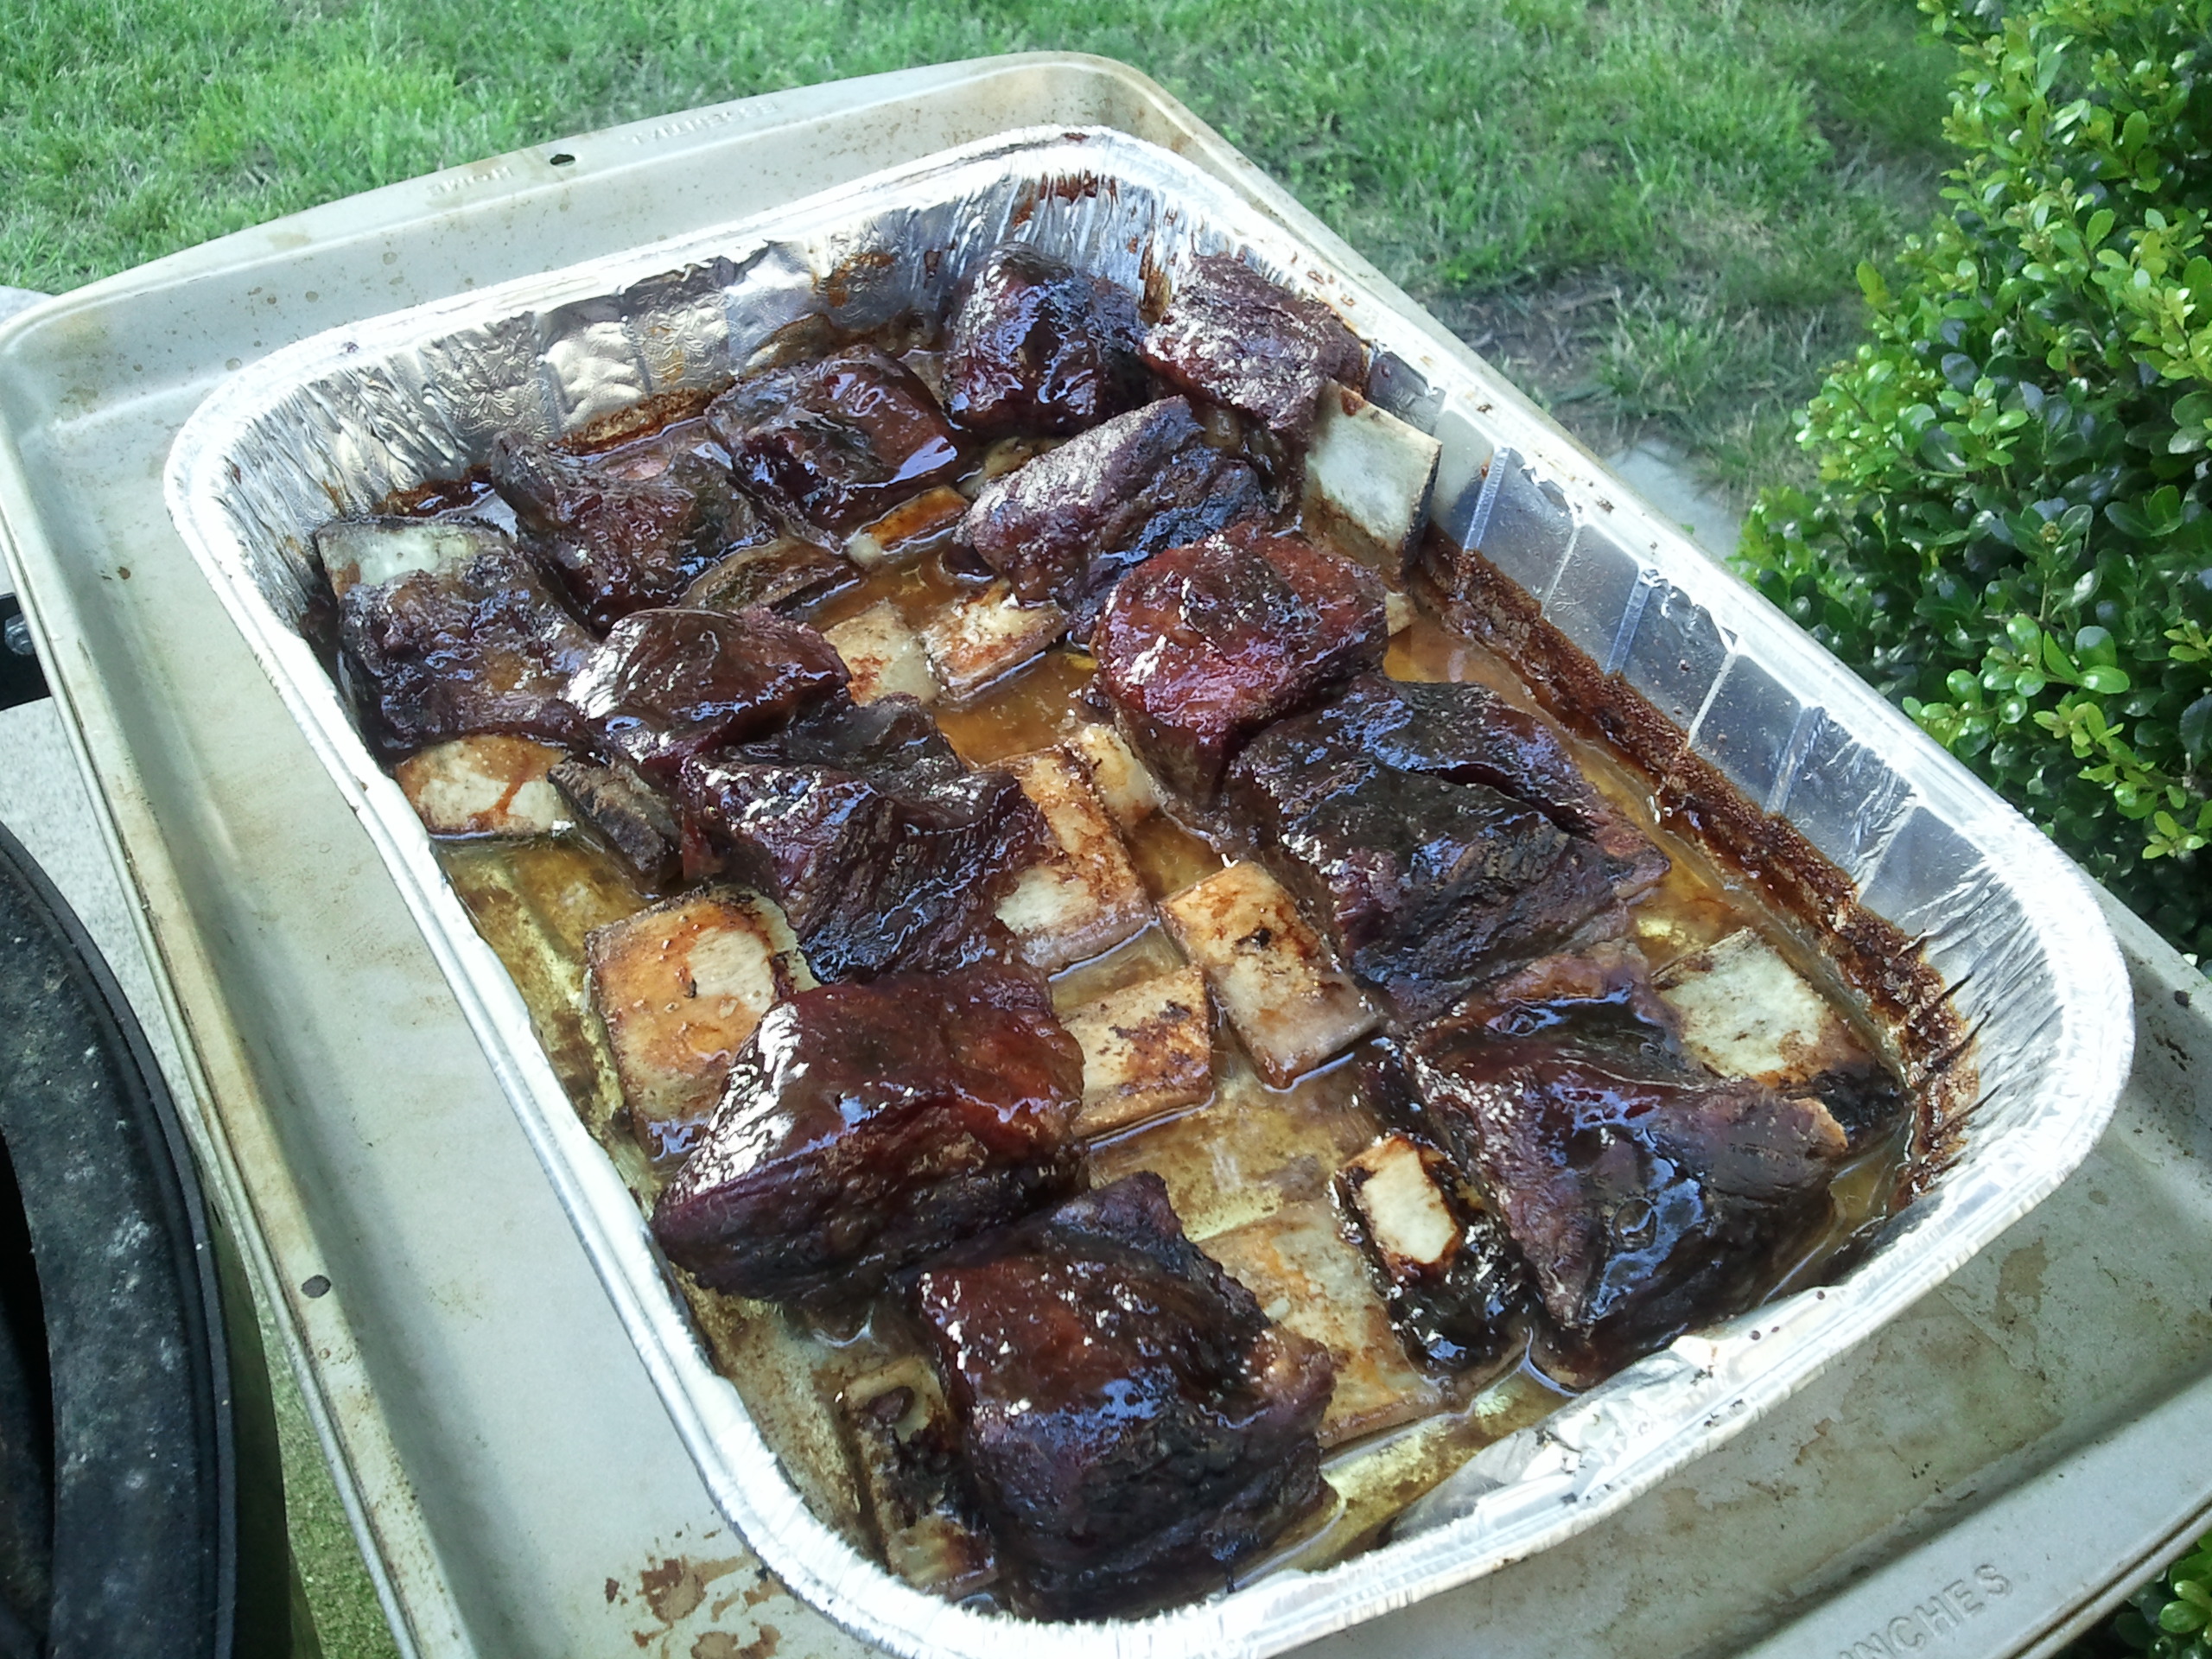
Another gratuitous beefcake meat shot.

SAMSUNG

I’m obsessed with oven roasted kale

I am TOTALLY obsessed with oven roasted kale. I just can’t get enough of it. Part of the appeal is texture — it’s crispy and dry but at the same time it’s moist and chewy. Part of it is the salt. Part of it is the spicy-goodness. Part of it is the earthy-ness. Oddly (for me), I’m at a loss for words to describe why I love oven roasted kale so much. Can you trust me here — you HAVE to try it!

SAMSUNG SAMSUNG

I prefer to buy loose kale leaves on the stem. I like the medium-sized ones with super curly tight leaves (no flabby kale for me). For this batch, I bought 12 such leaves. Cost less than $1. I have purchased the bagged variety when I needed my kale fix and the grocer was out of loose leaves. You have to REALLY pick over them, pulling out all the tough stems. It will do in a pinch but honestly, you REALLY want the loose leaves in the bulk bin.

SAMSUNG SAMSUNG

Rinse and drain the leaves. The better they are dried — the quicker they cook. Strip the leaves off the thick stem — they should naturally tear at the leaf veins into nice-sized pieces, but if you have rather large sections you should tear them smaller. Throw them on a cookie sheet. It won’t be a single layer but don’t mound them 3″ high either.

Drizzle 1 to 2 tablespoons of extra virgin olive oil all over the leaves. Sprinkle a pinch or two of kosher salt (go easy on the salt!), fresh ground black pepper, and 1/4 teaspoon of red pepper flakes over the leaves. Throw in the oven and turn the oven to 375F. Check after about 4 or 5 minutes — the leaves should be starting to wilt and turn a bit brown at the edges. There will be ALOT of steam, so stand back when you open the oven :)  
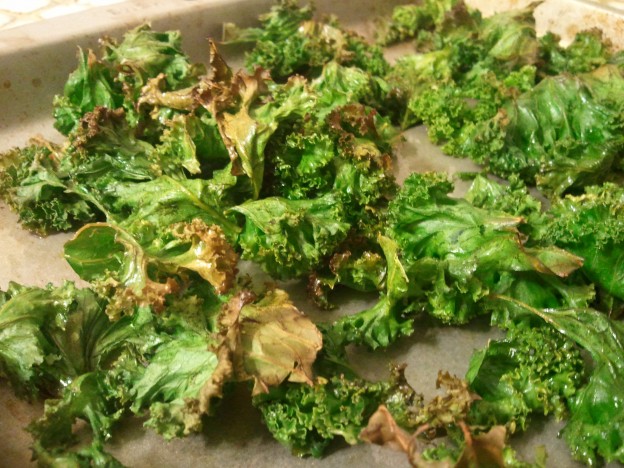
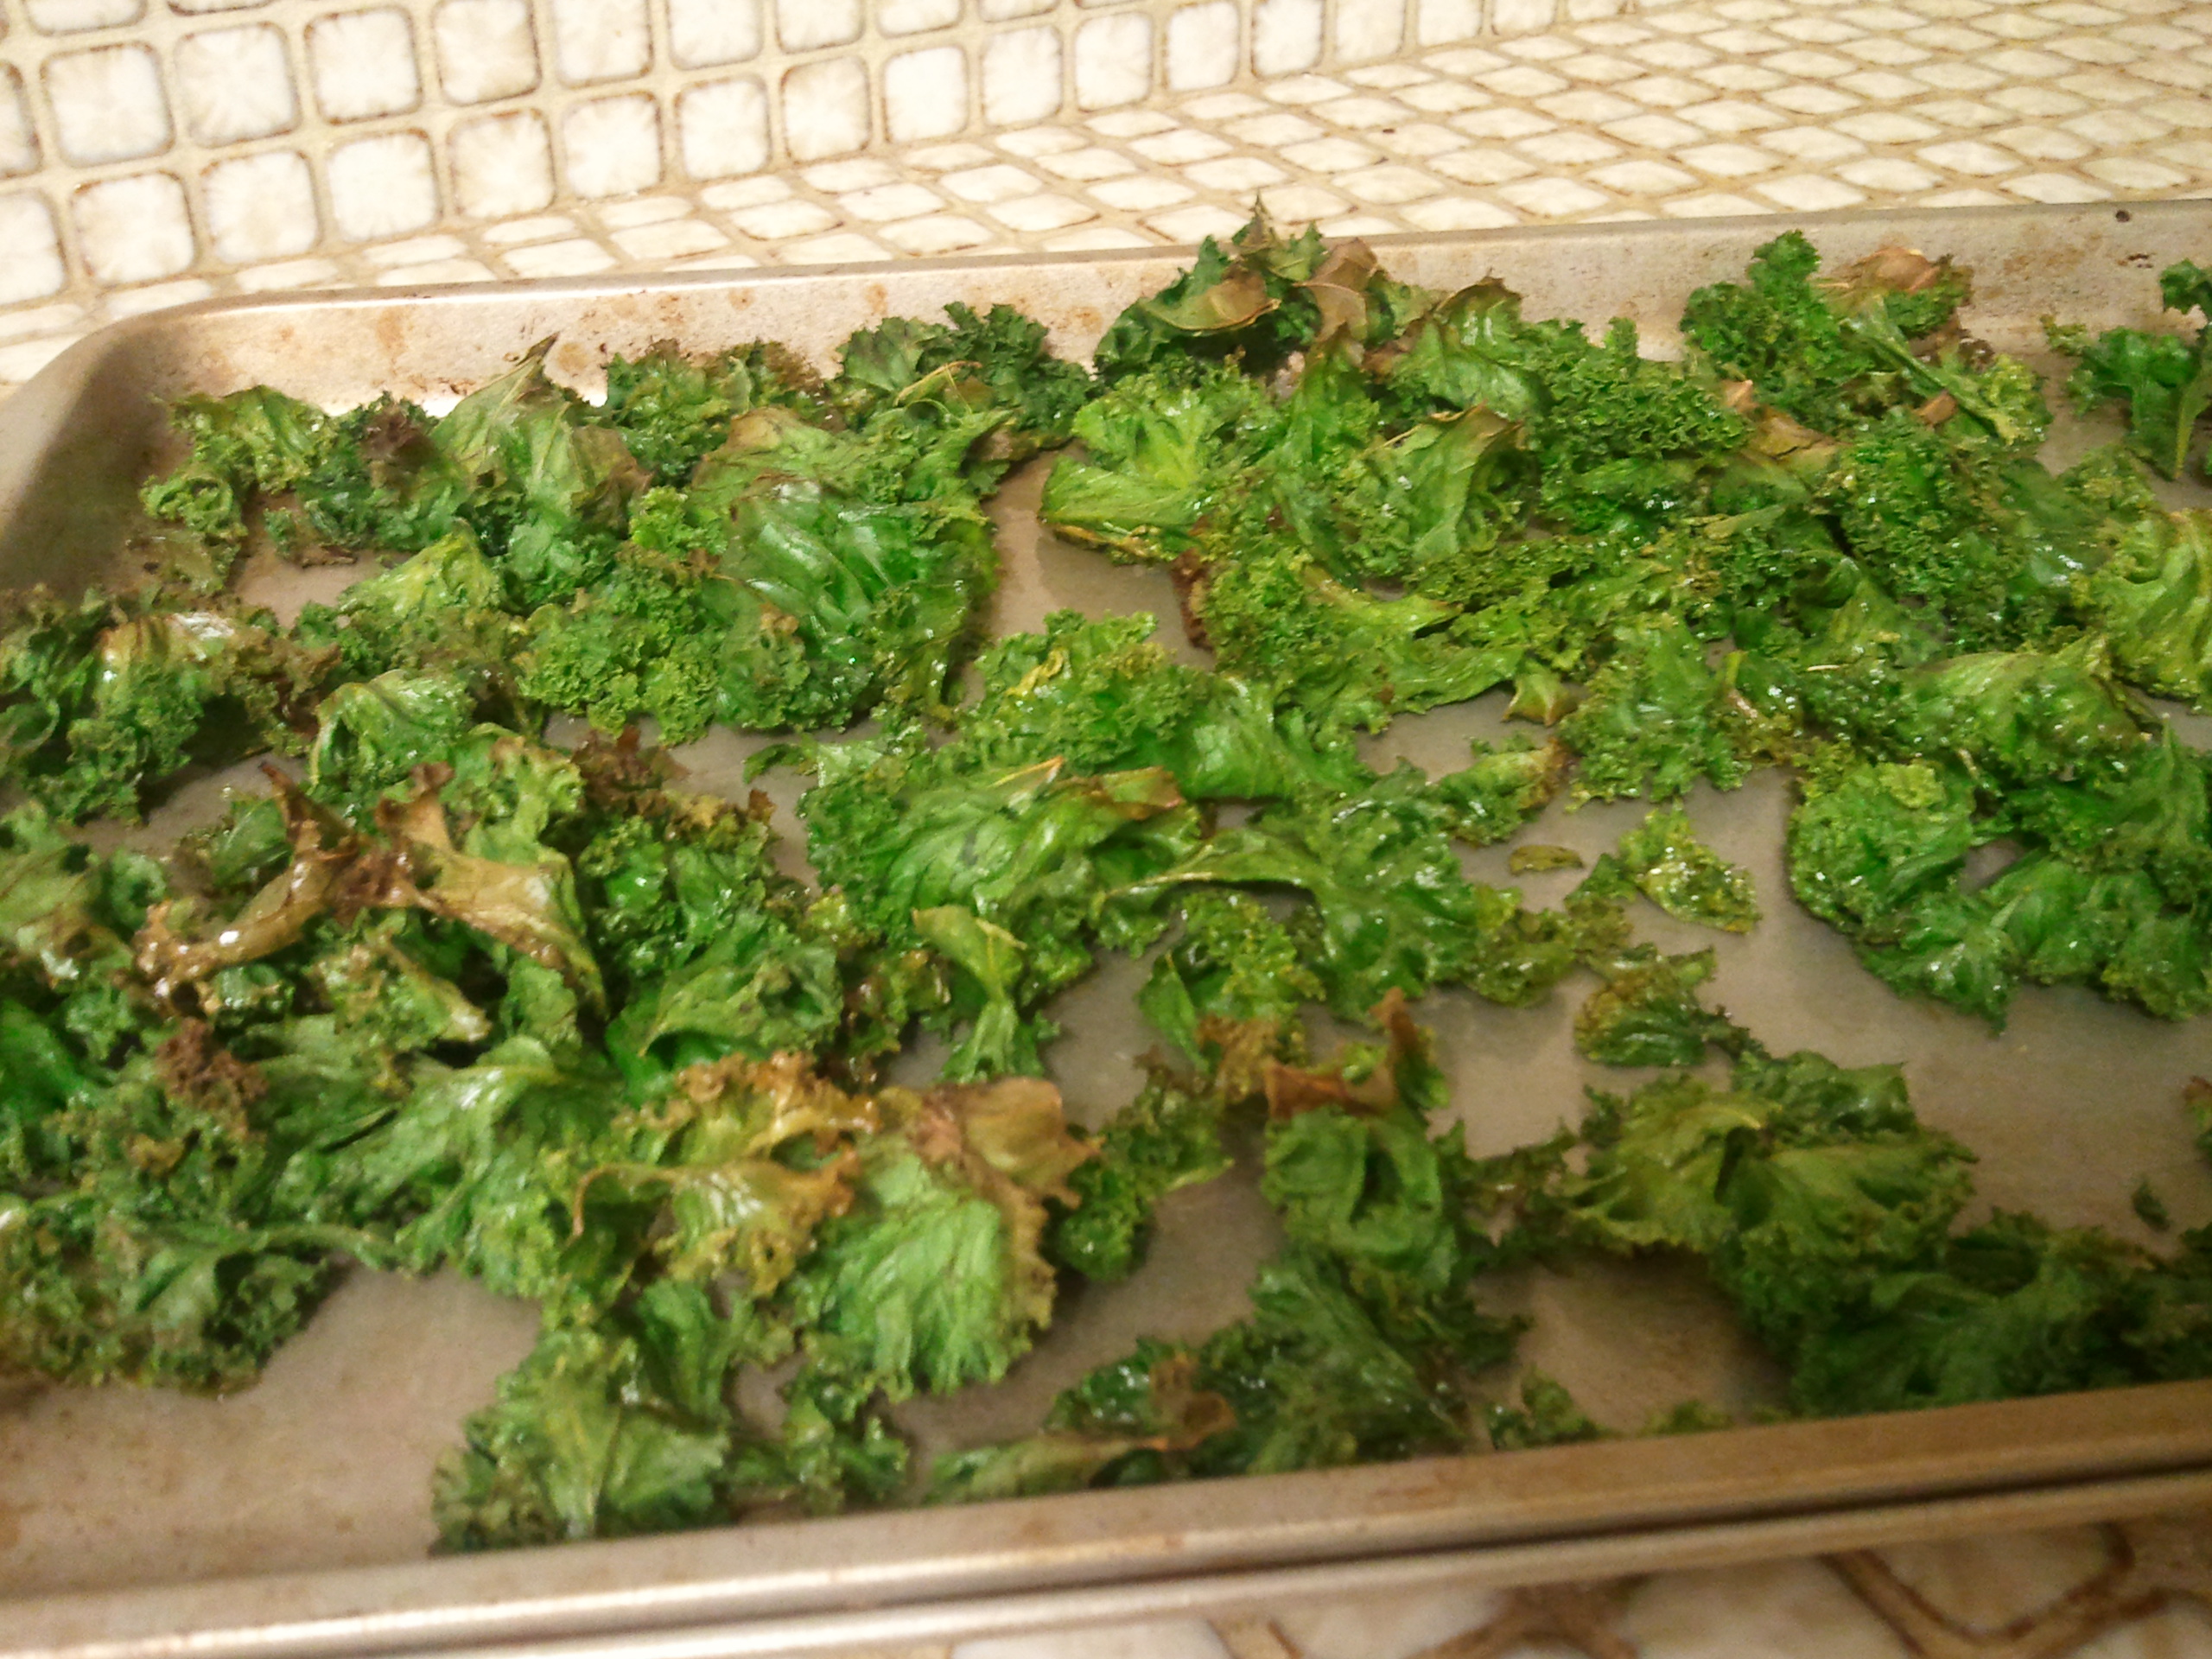
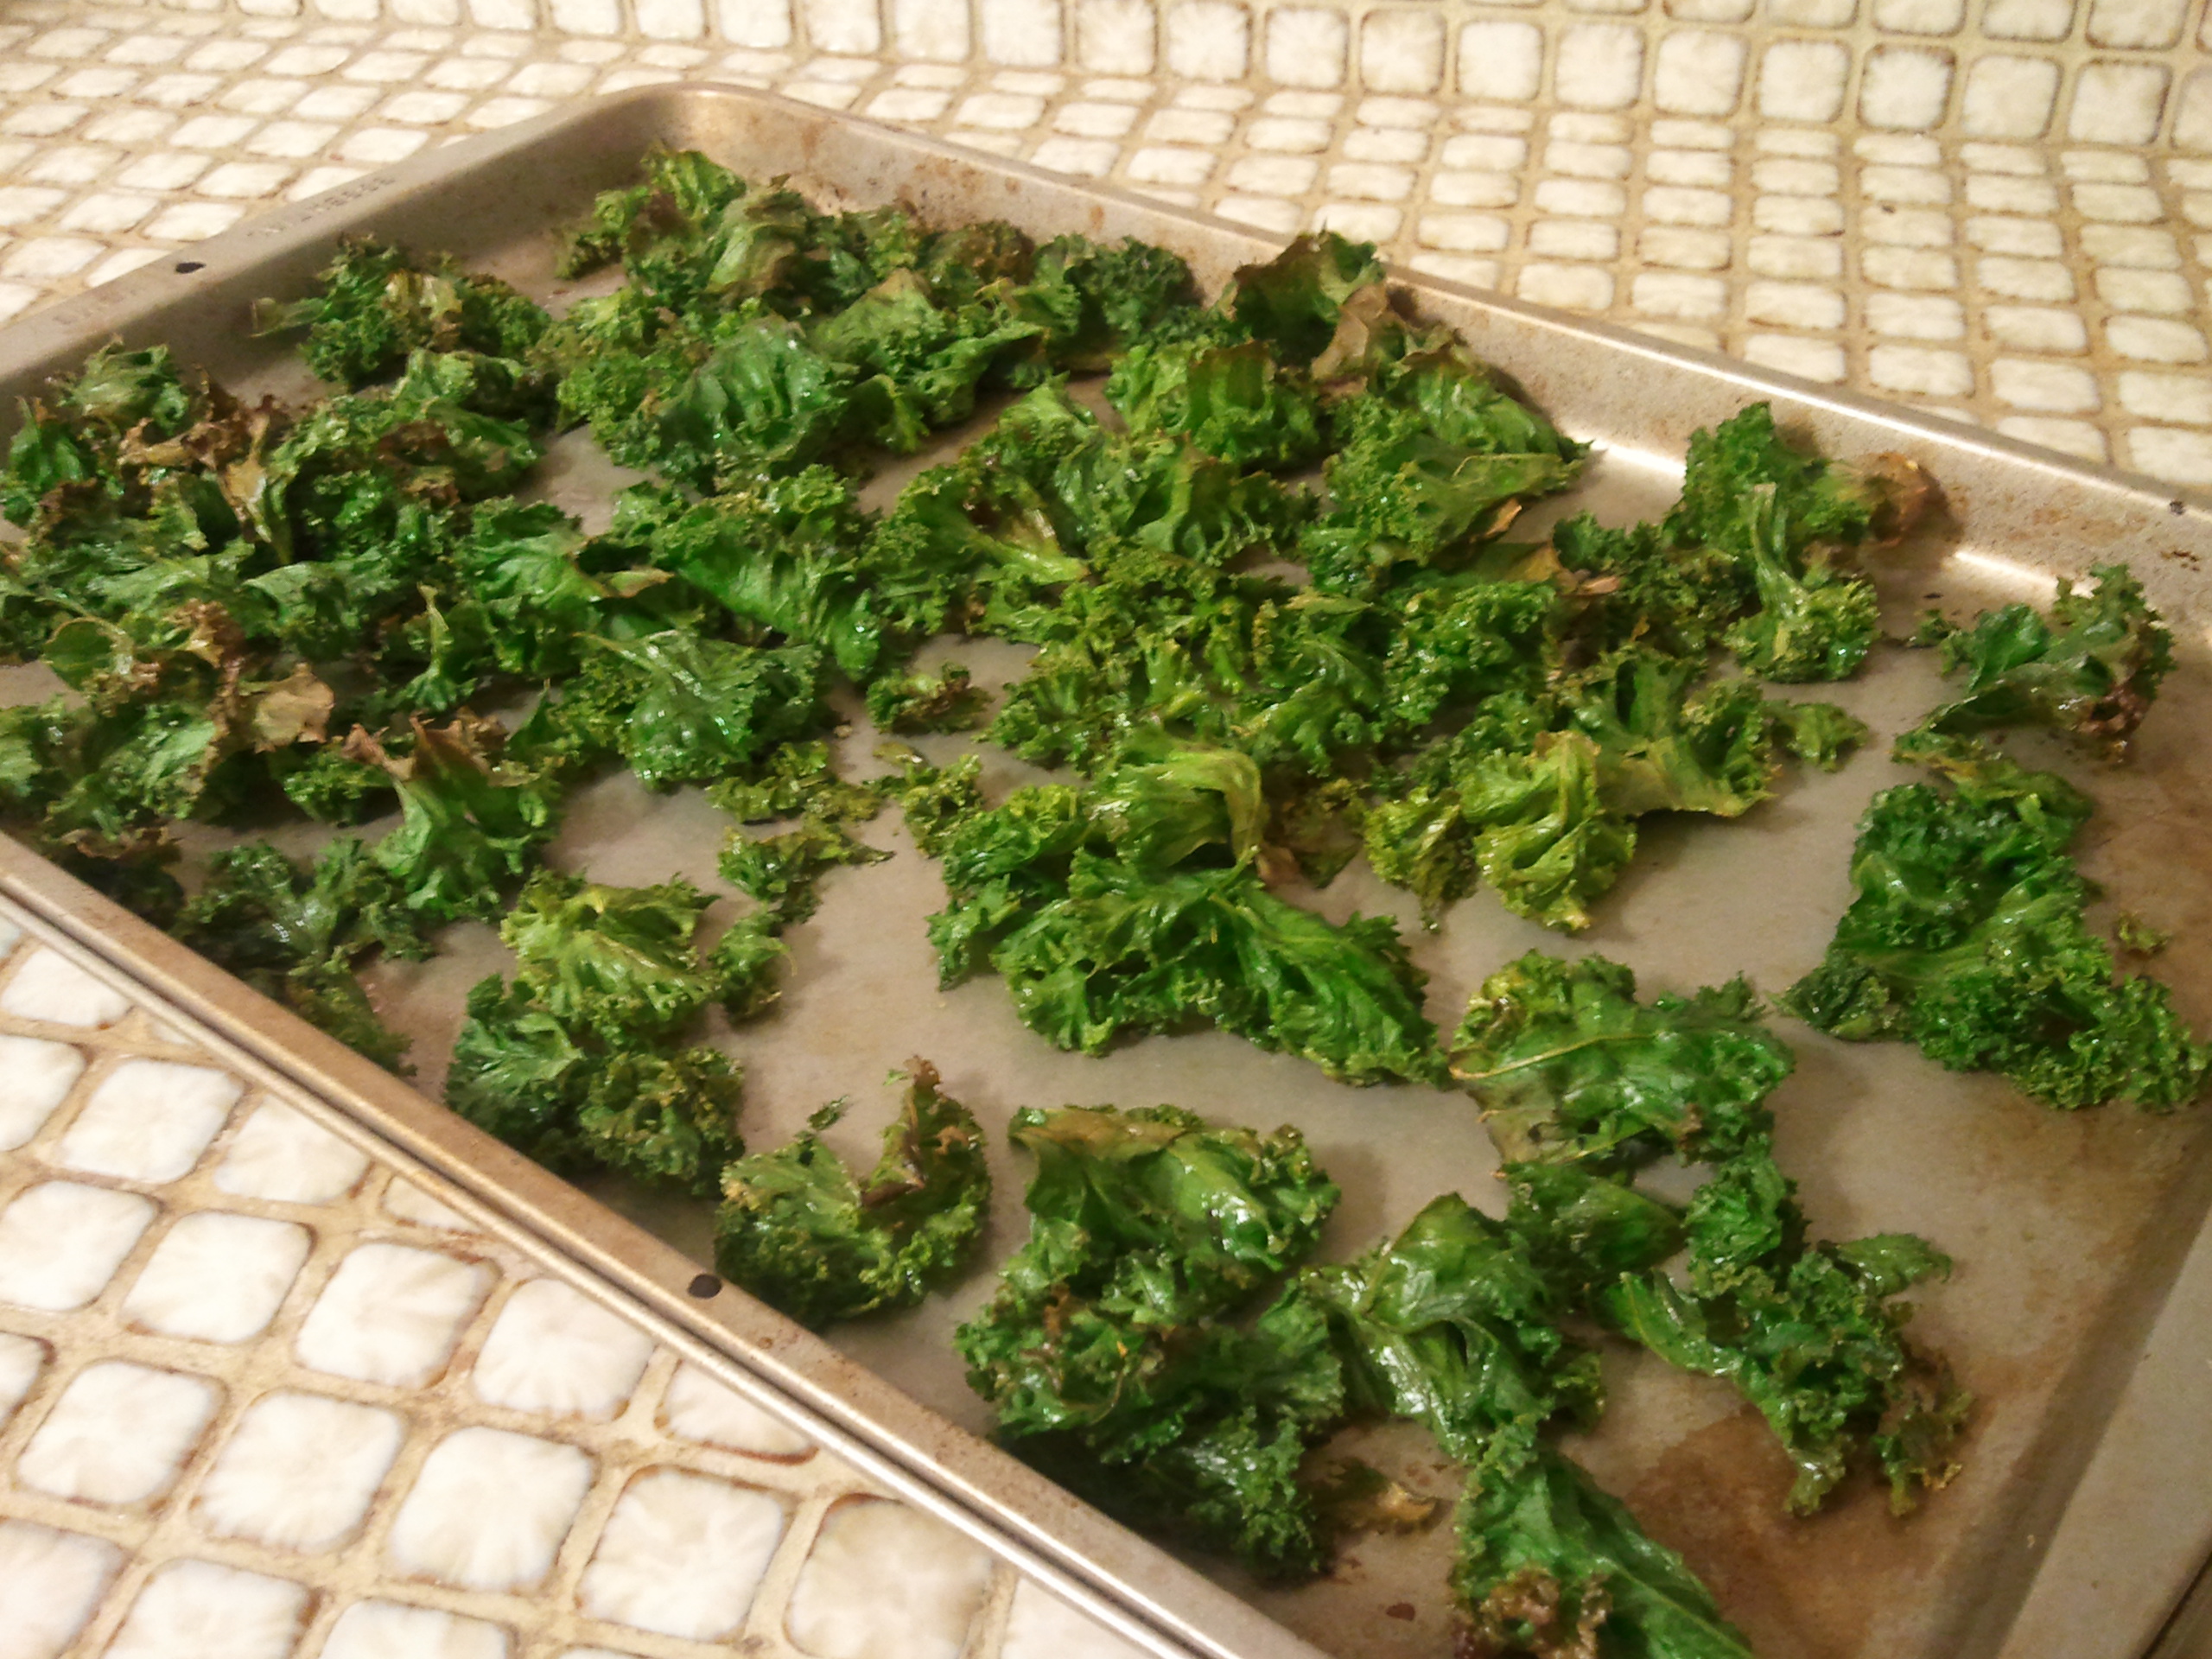
Use tongs or a spatula to flip the leaves over and around and then BACK in the oven with these babies. Continue to check every 3 or 4 minutes, moving them around a bit, until crispy and brown and very little moisture is left. You may want to turn the oven down to 350F partway through if they seem to be browning too fast.

They should look like this when done:

SAMSUNG SAMSUNG

Let them cool slightly — then dig in. I admit, I usually just eat them straight from the cookie sheet!

Leftovers should probably be kept in the fridge. I like to toss them with leftover orzo, rice, or pasta the next day as a salad. Add some vinegar, olive oil, a little shredded cheese, and whatever veggies are lying about. The kale might lose some of its crispness, but none of the flavor!

Variations:

  • Use chili-infused olive oil for a little extra zing.
  • Use lemon-infused olive oil and skip the black pepper and chili flakes for a kid-friendly version
SAMSUNG

Watermelon Wowza!

So with the long holiday weekend over, and guests back to their own homes, I found myself with a watermelon. Now, this isn’t just ANY watermelon. It’s a baby seedless watermelon from Swann Farms in Calvert County. I won’t buy anything else — it’s always a disappointment compared to these sugary sweet dripping sopping wet balls of goodness out of Calvert.  **drool**

Last year I had a watermelon cocktail at some fancy bar in Dupont Circle. It was nice, but at $10 a short cocktail, well, I was convinced I could do better at home (are you seeing a theme here? I’m kinda cheap I guess in a good way, right?). So I pick up a bottle of passion fruit rum, throw in some of the usual suspects, and decide that yes, I could do better at home. Cheers!

Watermelon Cocktail

SAMSUNG1 teaspoon sugar
1 tablespoon lime juice (I use Nellie and Joe’s)
Several mint leaves
1/2 cup watermelon chunks
1/4 cup passion fruit rum
1/2 cup lemon-lime seltzer
Mint sprig or watermelon chunk for garnish

In a large glass, muddle the sugar, lime juice, and mint leaves. Add the watermelon and muddle some more. Add the rum and seltzer and stir gently to combine. Fill glass with ice and garnish with a mint sprig or watermelon chunk.

SAMSUNG

SAMSUNG

OMG Oooey Gooey Rocky Road Brownies

My mother-in-law was coming into town for the Fourth, so I wanted to make a quick knock-your-socks-off dessert that would travel well from the brick house to the beach house, didn’t need refrigeration, and would hang out well in this insane humidity. That really meant bars rather than cupcakes (frosting in this heat no way no how) or cookies (aka sponges). Up in the top of my pantry were slightly-stale mini-marshmallows leftover from winter’s hot cocoa, and some nuts, and then hidden behind some baking pans on a lower cabinet was MOST of an over-sized (pound+) Belgian 72% dark chocolate bar from Trader Joe’s (not sure if I hid it from visiting kids or from myself), so visions of Rocky Road began dancing in my head.

I started with a basic 9″x9″ brownie recipe — I used the one from my Hershey’s 100th Anniversary book, but I think it’s the same one that’s on the back of the Hershey’s cocoa box. Dump some marshmallows, nuts, and chocolate on top — back under the broiler for a few closely-watched minutes — and you’ve got OMG Oooey Gooey Rocky Road Brownies!

SAMSUNG SAMSUNG

Rocky Road Brownies,
adapted from Best Brownies in the Hershey’s 100th Anniversary Cookbook

1/2 cup unbleached all-purpose flour
1/3 cup cocoa powder
1/4 teaspoon baking powder
1/4 teaspoon kosher salt
1 stick butter, melted and slightly cooled
1 cup sugar
1 teaspoon vanilla
2 eggs
2 cups miniature marshmallows
1/2 cup sliced almonds
1/2 cup coarsely chopped dark chocolate

Preheat oven to 350F. Prepare 9″ x 9″ square pan by spraying with baking spray, lining with a criss-cross parchment sling, and spraying the sling with baking spray (see photo above) [I used a new-to-me product that is parchment on one side and foil on the other — so I skipped the first spray].

Whisk the flour, cocoa powder, baking powder, and salt together in a small bowl. Set aside.

In a medium mixing bowl, mix together the butter, sugar, and vanilla (I used a wooden spoon and my 8-cup Pyrex measuring “cup”). Add the eggs one at a time, mixing well after each. Add the dry ingredients, stir until well blended. Pour the batter into the prepared pan and bake 20 – 25 minutes. The brownies are done when they start to pull away from the sides and look a little dry on the sides. If in doubt, pull a little early :)

Pull the brownies out and turn the oven to BROIL. Sprinkle the marshmallows evenly over the hot brownies, followed by the almonds, then the chocolate pieces. Put the brownies back in — on the center rack — under the broiler. CAVEAT: The parchment paper box explicitly says not to put it under the broiler. So I prop the oven open with a wooden spoon to keep it from igniting. Pull the brownies just as the marshmallows start to brown.

Let cool to room temp before cutting. Use the sling to lift the brownies out of the pan and your largest chef’s knife to cut into 16 rich brownies.

SAMSUNG SAMSUNG SAMSUNG